By the end of this guide, you’ll have all the info you need to make a batch of hardtack in minutes and get a sense of how big a part it played in world history.
Telson Survival is a participant in the Amazon Services LLC Associates Program, an affiliate advertising program designed to provide a means for sites to earn advertising fees by advertising and linking to Amazon.com.
Telson Survival is supported by its readers. Please assume all links are affiliate links. If you purchase something from one of our links we make a small commission, at no extra cost to you. This helps us pay for the running of this website. Thank you for your support!
Today we will talk about one of the most proven of survival foods, hardtack.
This food can help fill out a significant portion of your dietary needs in a survival situation.
Most importantly, you can make super long-lasting hardtack without any fancy tools or cooking gear.
Hardtack is tough food for tough people, but it’s easy to make.
By the end of this guide, you’ll have all the info you need to throw together a batch of hardtack in minutes and you’ll get a sense of how big a part it played in world history.
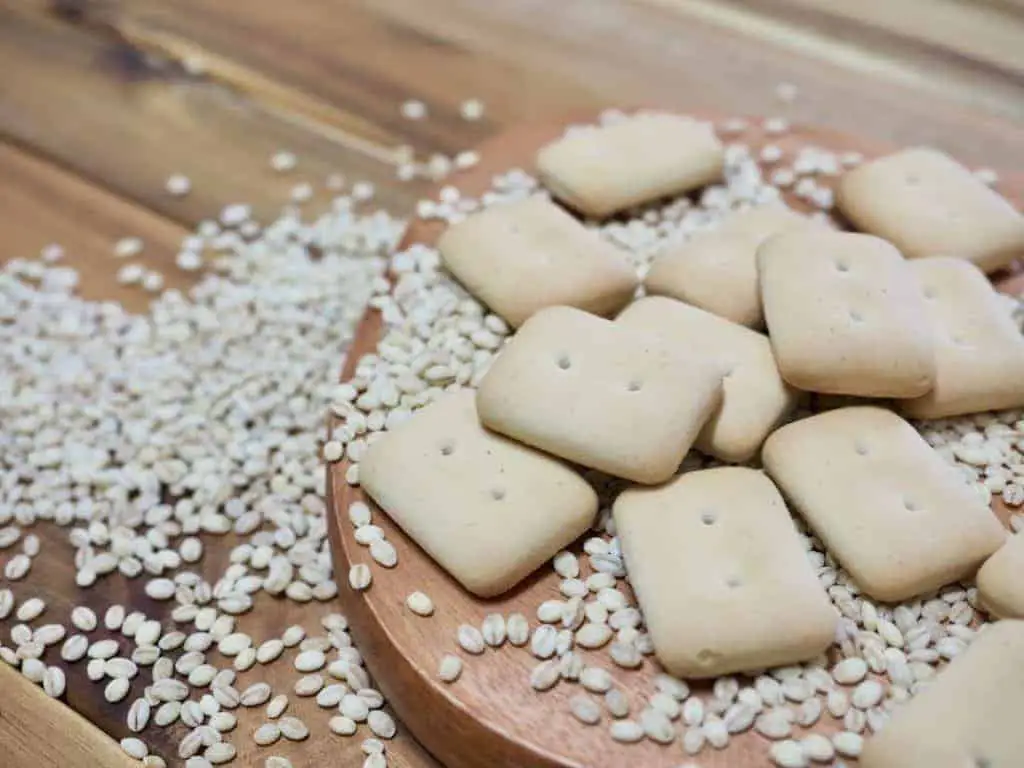
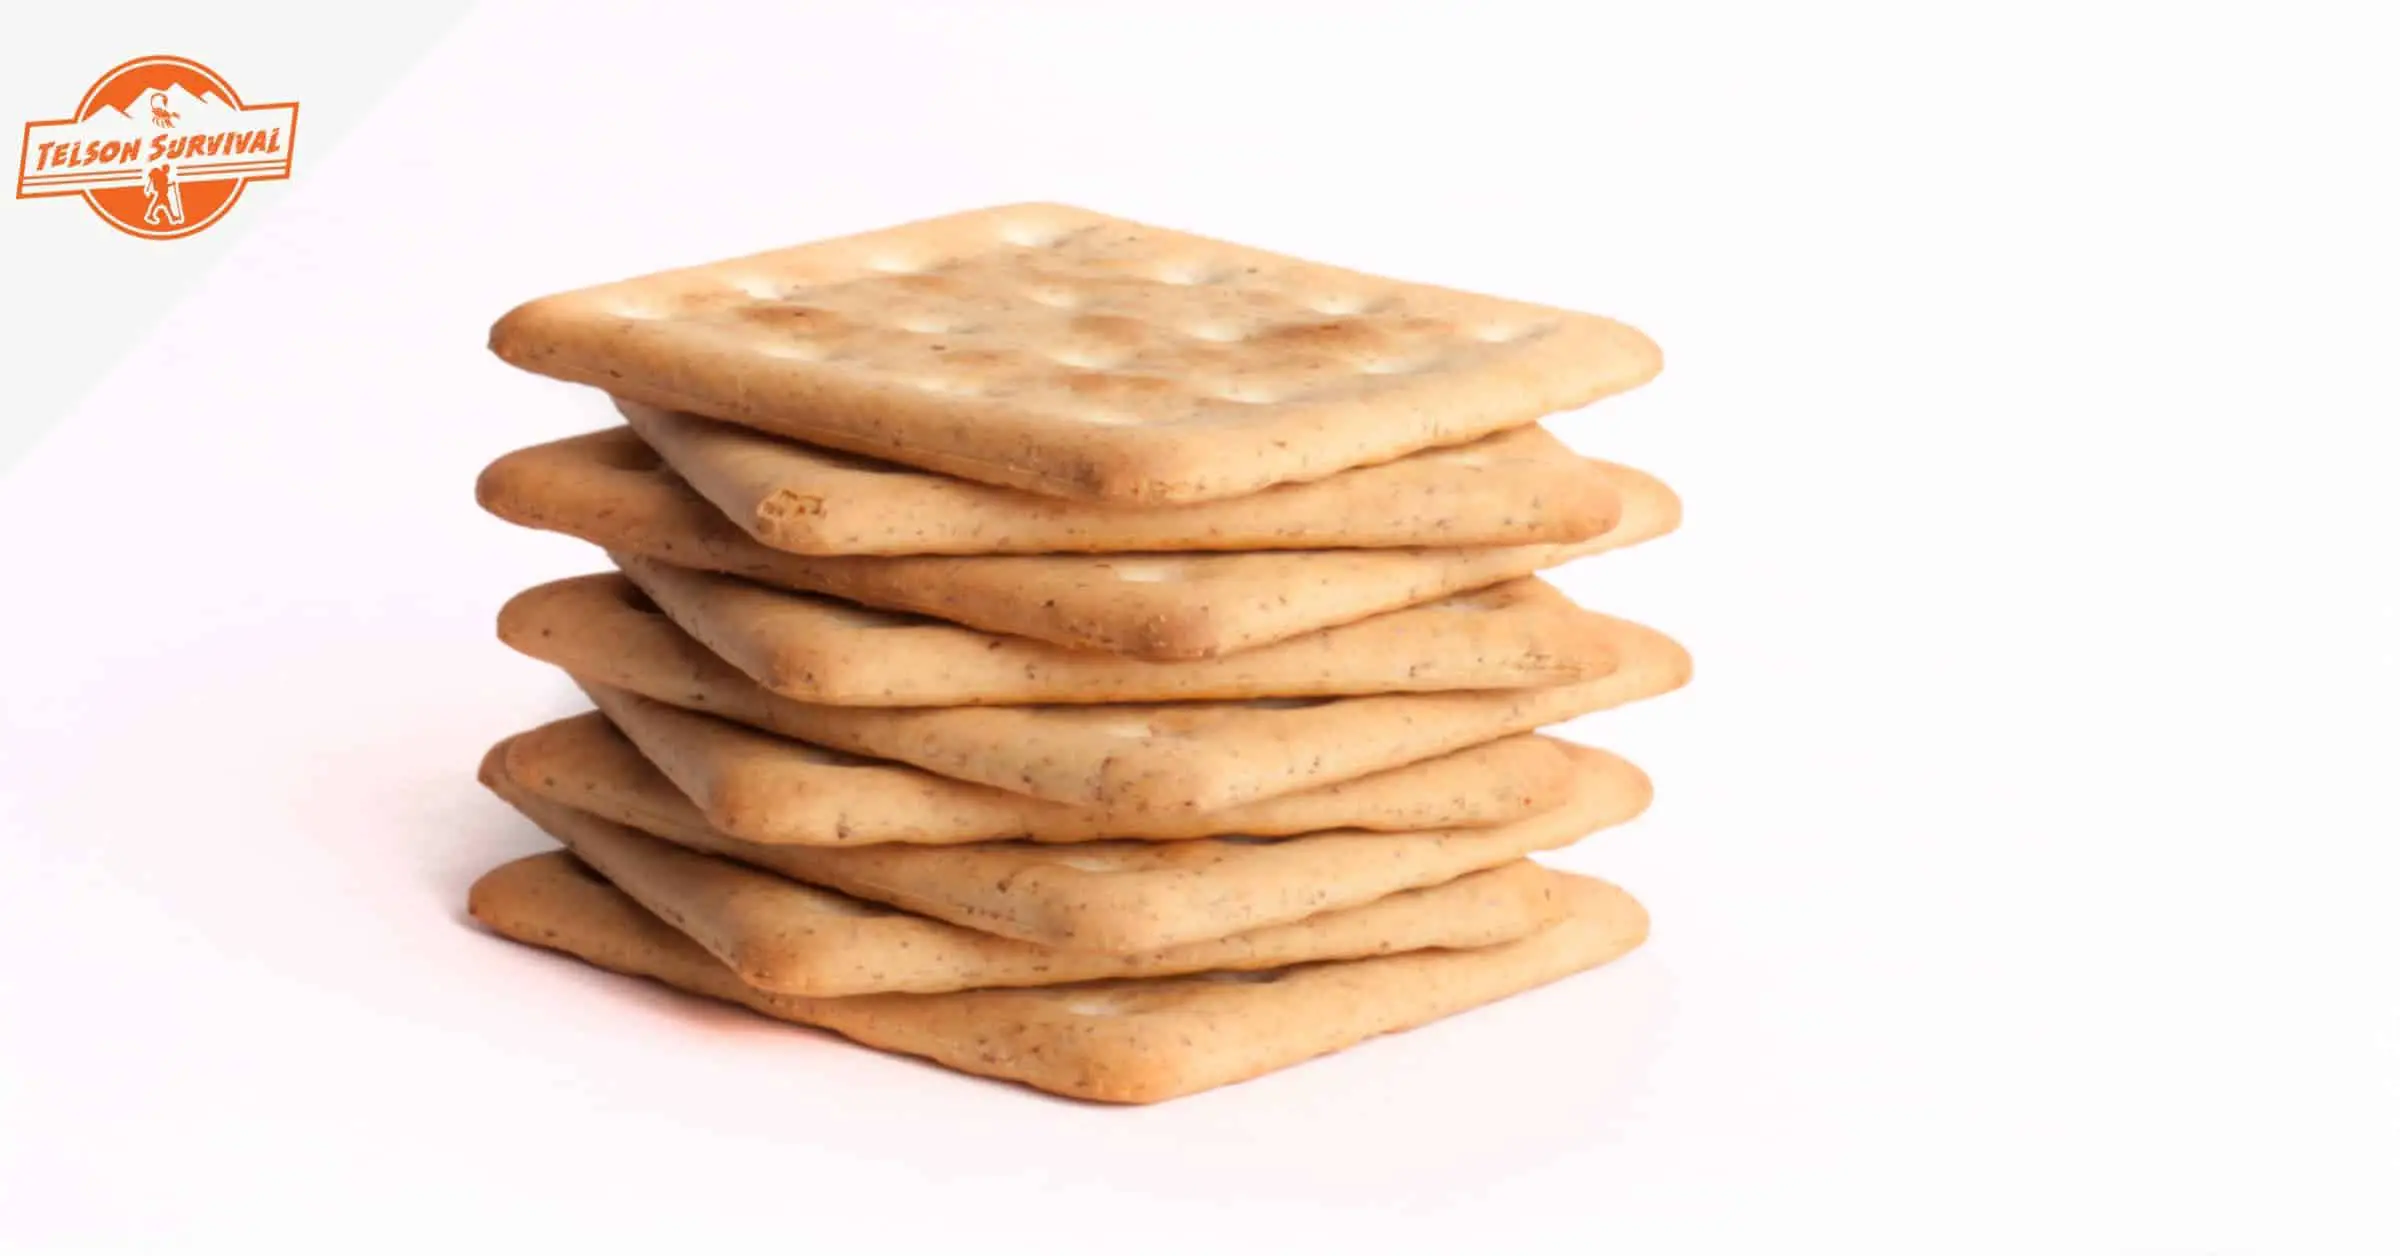
Hardtack is just a super dry, flat, dense, cracker or “bread” that can be nearly as hard as wood until it is allowed to sit in some sort of liquid.
Imagine a thick, “saltine” style of cracker and that’s about what hardtack looks like (except that hardtack is usually cut into a slightly bigger size than saltines).
Why is it called hardtack?
Hardtack was a staple food of European sailors, soldiers, and explorers during the 1600s and through the 1800s.
If you were on your way to the new world and landed in North America, chances are, you were eating hardtack during your voyage. The word “tack” in the word “hardtack” comes from the old English slang word for food.
So hardtack literally just means “hard food”. And, as you’ll see when you make it, hardtack is VERY HARD FOOD.
Hardtack earned such a reputation for being hard, that is took on some fun and colorful nicknames from the soldiers and sailors who ate it…here are just a few hardtack nicknames:
Molar breakers
Sheet iron
Tooth dullers
Armor plates
There was even a joke in the British military that hardtack was nearly dense enough to stop a musket ball! Once you make it, we’ll get into how to eat it as well (without losing a tooth)!
You may also hear hardtack called other things too, but it all refers to the same food. Other hardtack names include:
Ship’s biscuits
Hardtack biscuits or hardtack crackers
Military biscuits
Army biscuits
Pilot biscuits
ANZAC wafers or ANZAC tiles (ANZAC is the abbreviation for Australian and New Zealand Army Corps)
The history of hardtack is really amazing because it is so intertwined with many important world events. If you are interested, you can read more about hardtack history here.
Ahoy matey, it’s time for the hardtack recipe!
Despite its hard name, hardtack is incredibly easy to make. You can put together a batch in under an hour and it is nearly impossible to mess up.
It can be made in a regular oven, but the hardtack recipe you’ll see here does just fine in a toaster oven or even a nice thick covered skillet or Dutch oven.
Stay Prepared For Any Emergency!
If you like this article, consider subscribing to our free newsletter. We only send a few emails each month, with quality content related to Prepping and Survival, and absolutely no spam.
Thank you!
You have successfully joined our subscriber list.
The only thing you have to worry about that can ruin your batch is overcooking/burning and poor storage. Other than that, it is easy to make quality hardtack that can last for decades!
Hardtack ingredients
There is very little that goes into hardtack. In fact, you might have all the ingredients lying around your kitchen right now.
Here’s what you’ll need to make hardtack:
2½ cups of regular all-purpose flour
1 cup of water
1 teaspoon of salt
Making Hardtack
You can’t mess this part up.
You just want to get all the ingredients mixed together until you’ve made a nice uniform dough. Just dump everything into a bowl and knead it and mix it around with your clean hands until you get a dough.
It’s a little easier to stir the salt into the flour first. It also makes it easier if you add the water to your salt/flour mixture a little bit at a time while you mix it.
In the beginning it will be incredibly sticky but it should get a little less sticky as you get it mixed thoroughly.
If you’ve mixed it very well for a few minutes and it is still super sticky, adding a little flour to your dough and to your hands will help — but it is okay if your finished dough is a little sticky.
Roll, poke, and cut
With your dough complete, you are really almost there! Find a surface to roll out your dough and throw down a sprinkling of flour.
Surfaces covered in non-stick parchment paper work great. Roll your dough out until it is about ¼ of an inch thick.
You can use a rolling pin but even a clean wine or beer bottle will work just fine.
With the dough rolled out, take a fork and poke all the way through the dough all over its surface. This doesn’t have to be exact.
If you’ve ever eaten shortbread biscuits/cookies, you’ve seen about the right amount of spacing for your holes.
Next you want to cut your dough into a grid, aiming to create 3-inch by 3-inch squares. Again, it doesn’t have to be perfect. Ugly or deformed hardtack tastes exactly the same.
You just don’t want to make pieces too big or too different in size. A knife can work just fine and a pizza cutter wheel is perfect.
The last step is to transfer each piece to a baking pan or sheet and into the oven.
It helps to bake them on a non-stick surface like parchment baking paper, but you can put down a little bit of flour to bake them directly on a regular steel baking tray/steel surface if you want.
Baking hardtack
Preheat your oven to 375 degrees Fahrenheit before baking your dough.
You are looking at about 30 minutes of baking, but it is really the color of your hardtack that will tell you when it is finished.
You want to be very careful not burn these little gems, as it is easy to do. Aim for just the slightest bit of browning on the surface and you will be fine.
Really pay attention to the color, hardtack can go from perfectly cooked to burned in no time.
If you want to watch a video of a guy making hardtack with minimal tools and gear, take a look at this video.
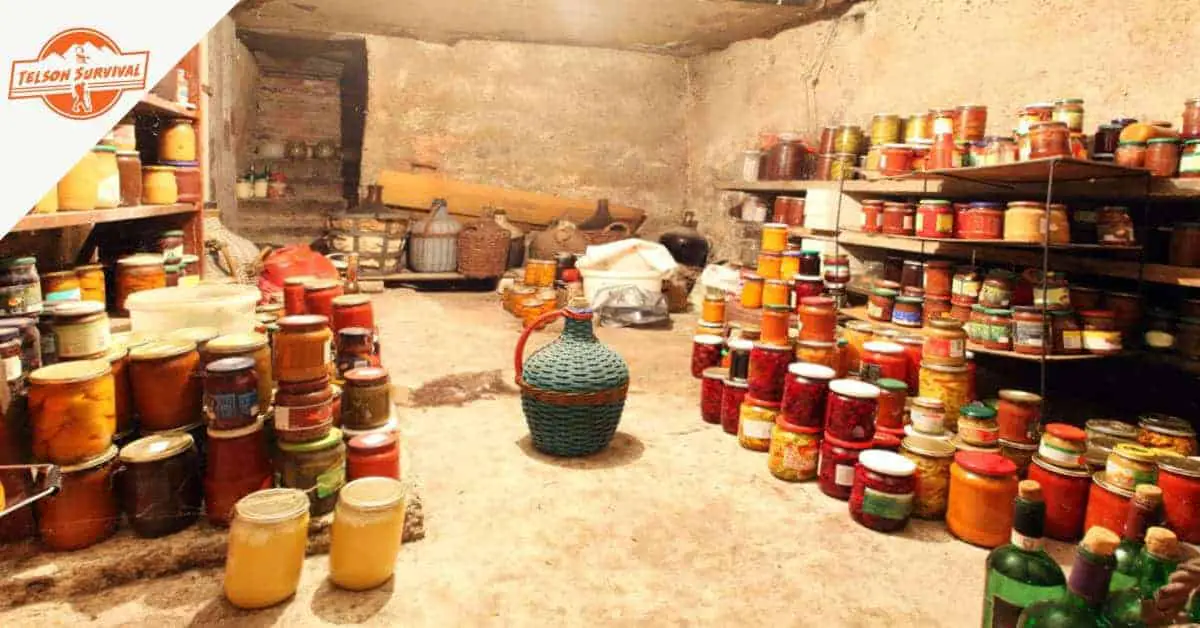
Storing hardtack
Once you have these tough biscuits baked, you will want to wait a little bit before putting them into any sort of closed container.
If you can put the hardtack somewhere very dry for a couple of days, but where no bugs can reach it, you’ll be on your way to making a much longer-lasting food.
Rubberware, mylar bags, vacuum-sealed containers, and plastic baggies are great, but if you seal your hardtack up while it is still hot, moisture will form and cause spoilage.
How long will hardtack last?
If you’ve followed the instructions above, you’ve just made food that will last for years and possibly decades!
But like any organic product, it WILL one day spoil. The trick to preventing this spoilage for as long as possible is to store it the best you can.
With hardtack, if you’ve done everything correctly and keep the moisture out, it is possible to have a viable food for 50+ years.
In fact, there are samples of hardtack from over 100 years ago in museums that are supposedly still edible!
Here’s a video of a couple of guys eating Civil War era hardtack!
Rotating your stock of hardtack
Something to touch on before we continue is the importance of rotating your food stock.
It’s fine and dandy if you have food that CAN last 20 years or more…but do you really want to eat food that is on death’s doorstep?
We’ve all eaten food that hasn’t exactly gone bad…but didn’t exactly taste good. Let’s not do that if we don’t have to.
If you can be diligent enough to keep a simple food log, especially if you are planning on storing a large quantity of food, then you can plan to make a new batch and eat what is on hand with time to spare before you reach an estimated expiration date.
Silica gel
Another helper in the battle against food spoilage is silica gel. You may be familiar with silica gel from any range of product packaging you may have opened.
From electronics to vitamins, those weird little packets that often fall out their boxes are helping to keep everything dry and oxidation free.
It’s a great idea to throw some of these packets into your sealed food containers.
They absorb moisture and they are cheap too.
Here is a calculator that a silica gel supplier created to help you estimate about how much silica gel you’ll need to dehumidify a food storage container based on its size.
Last update on 2024-07-14 / Affiliate Links / Images from Amazon Product Advertising API
Steer clear of certain silica gel products
Make sure before buying any silica gel that it is intended for food preservation. There are some pretty neat forms of silica gel that start out blue and then turn pink when they are too full of moisture to be useful.
This stuff is great for preserving firearms, fishing gear, tools, and pretty much anything you wouldn’t eat.
But the chemicals inside are proven to cause cancer, so never use them in your food stores.
Also, just in case there are any cigar smokers reading this, never use a cigar humidifier pack to regulate the moisture in a food storage container.
Boveda packs and similar cigar-oriented humidity regulators actually hold levels of humidity!
So don’t preserve your food the way you keep your Cubans and you’ll be just fine.
How to eat hardtack
Hardtack really needs to be softened if you want to safely eat it. It is definitely hard enough to break your teeth if you are not careful.
When it’s time to eat your hardtack, consider doing the following:
Dunking it in your beverage before trying to take a nibble, the hotter the better usually, although beer actually works nicely
Breaking it up and letting it soak in soup or broth until it is softer
Grinding it up and adding it to whatever else you are eating (it’s pretty good stirred into scrambled eggs this way)
Is hardtack a healthy food?
So here’s the deal with hardtack…it is a small, tough, high-calorie package that lasts. It’s basically just formed and “fossilized” flour, which is why you can grind it down and use it in place of flour to thicken soups or sauces.
In terms of survival, when you need something that hasn’t spoiled to keep you going, it is “healthy” enough.
If you followed the recipe above, each piece of hardtack will provide about 75 calories—about the same as a similar-sized chocolate chip cookie.
If you are going to just be inactive and eat a bunch of hardtack, you’ll be taking in too many calories.
But if you are doing strenuous activities like hiking great distances, canoeing for miles on end, or anything where it is a struggle to pack in the calories you need, then hardtack might just save your day.
The trouble with hardtack is that is has very little flavor all on its own.
It also doesn’t have a fun texture because, as mentioned earlier, it’s very hard to eat unless you moisten it in some sort of liquid (or smash it into tiny pieces with a hammer).
Fortunately, you do have a couple of simple options, but they will diminish the shelf life of your hardtack. Here’s a couple things you might try:
Spicing your hardtack
If you stray from your original recipe and just add some dried spices to your hardtack, you’ll still have a viable food for quite some time.
Hardtack with just some ground black pepper added to it might still last you 2-3 years at least.
And, if you ever add this spiced hardtack to something like soup or eggs, you will have a kick of spice already added.
Adding nuts or dried fruit to hardtack
Putting nuts or dried fruit into your hardtack before baking adds some nutrients and a considerable amount of flavor.
Unfortunately, these added goodies will inevitably attract more moisture and ultimately diminish shelf life.
But eaten within 1-2 years and stored in the right conditions, it might be be a worthy compromise.
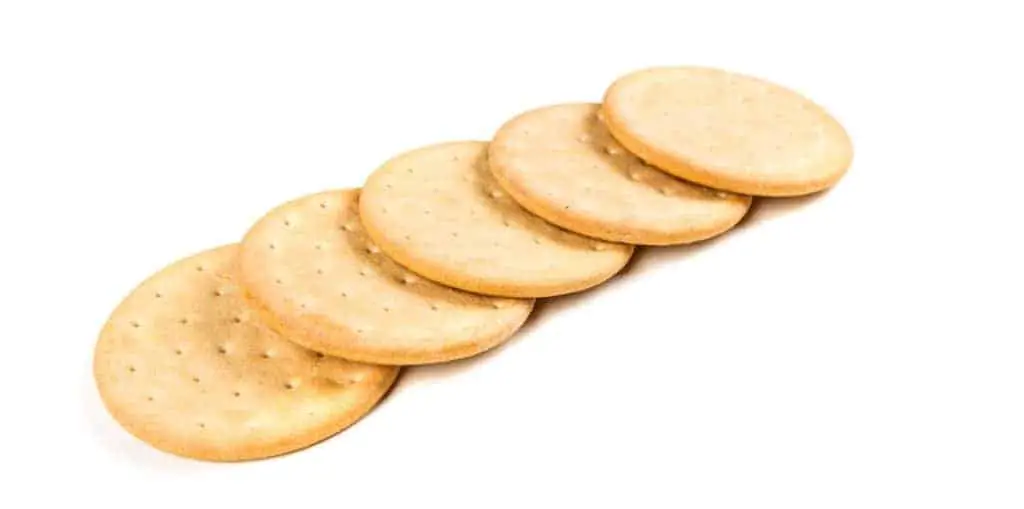
Make hardtack crackers instead!
Crackers can last you about 6 to 9 months depending on how you store them and are much softer and immediately edible.
Crackers follow a very similar recipe to hardtack.
The main difference is usually that there are more flavorings included, the proportion of flour to water is slightly different, and there is often some sort of fat added (like oil or butter).
When cooking/producing survival food, keep in mind that many variables come into play.
Even if you keep your cooking area nice and clean, there is always a chance that some variable you couldn’t account for is influencing the longevity or flavor of your final products.
While it’s impossible to rule out every variable, here are a few to keep in mind and to try to control if possible:
Humidity
The amount of moisture in the air where you produce and pack or store your hardtack should be kept to a minimum.
Remember, the humidity of the ambient air you pack into a container along with your food can directly affect shelf life.
Random contaminants and debris
You can keep a clean kitchen, but if a tumbleweed of your cat’s hair floats into your food’s packaging, you could wind up with food that goes bad pretty darn quick.
Just be sure to really inspect the areas where you will do your cooking and keep the dust and other airborne debris to a minimum if possible.
Condensation
A rookie food storage mistake is to pack your foods immediately after the cooking process, before they are done cooling.
This can be a killer for any food’s longevity—especially hardtack!
Do yourself a favor and make sure that your food has completely cooled down before packing it.
Exposing containers to sunlight
Sunlight can be a real lifespan killer for preserved foods. It is never advised to have your food stored somewhere that the sun is beating down on it.
The heat from the sun can turn your containers into little “ovens”.
That’s something that you really don’t want, as heat speeds up the break down of organic materials.
Go make a batch of hardtack now!
It only takes a few minutes to make this important survival food.
The process is so simple that you might even remember how to make hardtack by heart after the first time!
Like any survival skill, the more you do it, the better you will get at it.
After you learn how to make hardtack, it may inspire you to produce other survival foods that are also valuable and satisfying to create (like jerky and pemmican).
It is important to start working on these skills sooner rather than later.
The last thing you want to do DURING a survival situation is learn how to actually survive the moment, let alone learn how to bake or cook!
Sharpen your skills today and they’ll serve you well when you need them.
We´ve created this comprehensive guide to help you understand all about freeze dried survival food. In this article we answer 16 questions preppers may have around freeze drying.
In this article we´re going to lay to rest any doubts or confusions preppers may have about freezing food. We´ll also let you know which are the best survival foods for freezing and how long you should keep them stockpiled.
In this article, we´re going to dig deep into the advantages of having a prepper freezer. We will also give you our recommendations for the best ones to store your food for long term survival.
We argue that storing meat without refrigeration is one of the most important skills every prepper needs to learn. In this article we talk about several methods to store meat long term even if you don't have a freezer.
![5 Gram [60 Packs] Food Grade Silica Gel Packets with Color Indicating Beads Reusable Desiccant Packs for Storage, Rechargeable Moisture Absorbers for Food Seeds Snacks Spices Jewelry Electronics](https://m.media-amazon.com/images/I/41vsBTbGC9L.jpg)