When you decide to DIY your off grid solar power system, you pick each part of the system separately until you can put them together and install your solar system.
The main advantage with a DIY off grid solar system is that picking each piece separately often turns out to be cheaper, plus you can pick each part according to your specifications without being limited by a ready-made package. Nonetheless, you’ll need to ensure that your separately-picked parts are compatible.
So, if you feel up to the task of setting up your own solar power system, here is a quick 8-step DIY solar system installation guide.
8 Step DIY Solar Power System
1. Calculate your energy needs
Calculate the amount of load you’ll need by listing the appliances/devices you’ll be running and determining the total Watt hours required (Wh) for each item (= wattage for each item x number of hours they will run) then adding up their power consumption to determine your energy needs.
2. Select an appropriate solar power storage battery
A reliable off-grid power system is one that provides power in sunlight and darkness. But that means including a good solar power storage battery.
A deep-cycle battery is advised, one that you can charge during the day and discharge partially or have a deep slow discharge in the night.
Choose a 12V/24V battery if you plan to charge low power appliances/devices. Instead, go for a 48V battery if you have power-hungry appliances. But note also that solar system batteries are usually combined in series or parallel connection to increase capacity.
3. Purchase your solar panels
Solar panels will collect solar energy from the sun’s rays and charge your battery bank or appliances.
As advised earlier, monocrystalline panels have the highest efficiency, even though they are pricier.
The panels should have a high charging rate, enough to fully charge your battery bank in a single day. Manufacturers will usually indicate the number of hours a panel with a specific wattage will take to charge a specified battery.
4. Choose your charge controller
The charge controller regulating the current between the solar panels and the battery can either be PWM or MPPT. Traditional On/Off charge controllers are also a possible option. But the MPPT is the most efficient option that you should opt for.
5. Select the power inverter
We indicated earlier that the power inverter should be big enough to provide the required AC for your appliances/devices.
Power inverters fit into one of these 3 categories:
- Square Wave
- Modified Sine Wave
- Pure Sine Wave
Always opt for the Pure Sine Wave power inverter as it is the most reliable when it comes to protecting your appliances and devices, especially the most delicate ones.
Square Wave inverters are cheaper and Modified Sine Wave inverters are good for electromagnetic items. But both are not as efficient as the Pure Sine Wave inverters.
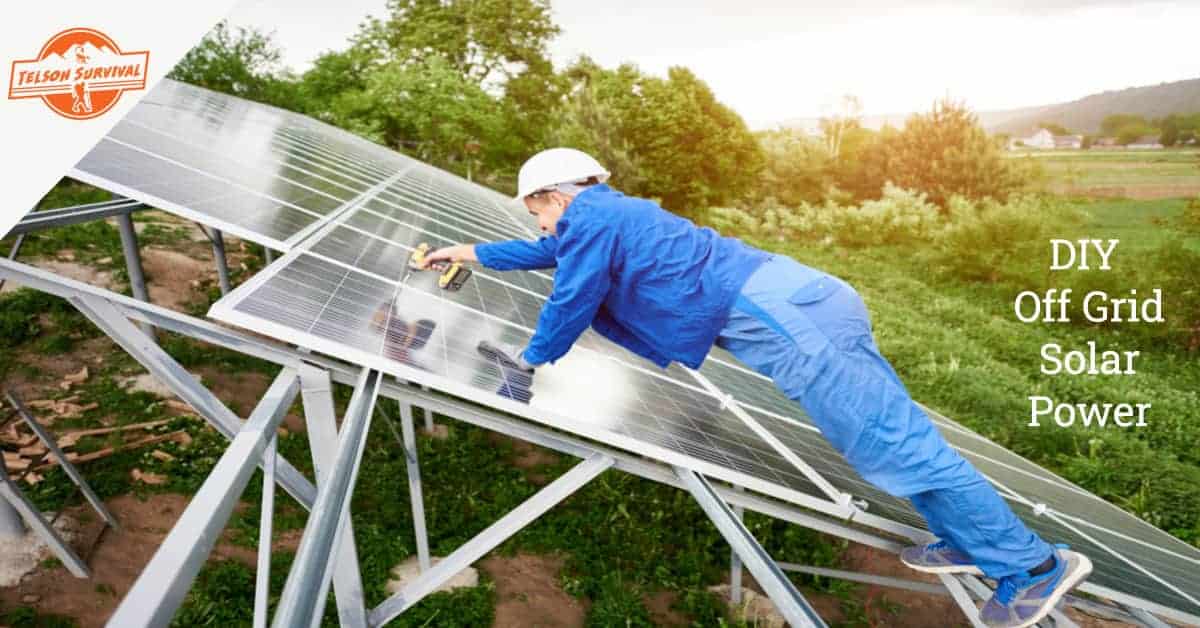
6. Mount your solar panels
The most important thing to bear in mind when mounting your solar panels is that they should be in a location where the sun rays are direct (not obstructed). Point your panels to the south if you are in the northern hemisphere and to the north if you are in the southern hemisphere. That way, the panels will receive maximum sunlight.
Firm your panels on your rooftop if it can support them or make a panel stand on the ground, firming each post of the stand with cement to ensure it does not give in to the weight of the panels.
Most solar panels have inbuilt holes on the sides to allow you to screw them onto the stand. They also have a junction box on the back with positive and negative signs as well as external wires for smaller panels or terminal wires (with MC4 connectors) for larger panels.
7. Connect the solar system components
The solar panel rating and the battery capacity you calculated for your power needs are not readily available in single units. So, you might need to combine multiple panels and battery banks, especially if you are looking for substantial amounts of power.
You’ll need to make series connections (+ve terminal of one component to –ve terminal of another) and parallel connections (+ve to +ve) depending on the electrical requirement.
8. Wire the components of the solar power system
Once your panels are in place, you can now proceed with the other connections in this order:
- Connect the charge controller to the battery (-ve wire of the battery to –ve terminal of the controller and +ve wire to +ve terminal). The light on the controller that shows battery level should show immediately if the connection is done correctly.
- Connect the battery to power inverter (-ve battery terminal to the -ve inverter terminal and so with the positive terminals).
- Connect the charge controller to solar panels using the wires on the junction box (+ve terminal on the solar panel to the +ve terminal on the charge controller and likewise with the –ve terminals).
SAFETY ATTENTION: connect the charge controller to solar panels when no sun rays are hitting on the panels or cover the panels with dark material. This will prevent a sudden surge of power that could damage your charge controller.
With all the connections done, you are now ready to start harvesting the pure energy from the sun and use it to charge your battery bank and appliances/devices.
If you're interested in more off grid solar power options, be sure to check out our other guides on emergency portable solar generators and off grid solar generators.
How many batteries do I need to go off grid?
Your battery capacity should be enough to meet your daily power needs in Watt hours (Wh). But because battery capacity is rated in Amp hours (Ah), you’ll need to convert the number of watts you need in a day to Ah to figure out how many batteries you need.
Since Volts x Amps = Watts, dividing your total power needs in watts with the volt capacity of your battery (say 12V) will give you the number of Amps in the battery.
For example, if your daily power need is 6000W, dividing that by 12 will give you 500 Amp hours. So, if your battery is rated at 125 amp, you’ll need at least 4 batteries to meet your power needs.
How many solar panels do I need to go off the grid?
Solar panel output is indicated in watt hours. So, if you buy a 100W solar panel, which means it can produce 100W in an hour.
To know how much it will give in a day, multiply that by the number of sunlight hours (daily solar panel output = panel watts x number of sunlight hours).
So, if your daily power needs add up to 6000W and a 100W panel is giving you 600W in 6 hours of the sun, then you’ll need at least 10 x 100W panels to meet your daily power needs.
Of course, your battery bank should have an equivalent (or higher) storage capacity as explained in the previous question. Your power inverter should also be equal in wattage.
Tips For DIY Off-grid Solar Power Systems
Here are a few useful tips when looking to put together a DIY solar system:
- Choose monocrystalline solar panels
- Ensure you have the right charge controller size and features
- Ensure the battery inverter/charger is the appropriate size and design for powering your appliances/devices.
- Buy a battery bank that can last you 72 hours in an emergency
- Go for the most efficient battery
We dive into more details on these tips, as well as other useful info, in our guide on the best solar system packages you can buy. On top of the helpful information, we review some great options which could give you a good starting point, even for a DIY system.
DYI Solar Power System Conclusions
Undoubtedly, gaining your energy independence is one of the biggest prepping steps you can take.
No matter if you opt to buy a premade system, or you decide to follow this 8 step DYI guide to building a solar system, this is going to be a big and expensive project. Make sure you have a clear budget in mind and review your options before starting out.
However, once you have your off grid solar system up and running, you'll be one step closer to being prepared for any emergency situation and gain some more confidence that you and your family can survive if SHTF!