Staying warm or having a way to cook food is critical in a survival situation. That's why it's important to learn how to start a fire when bugging out.
Telson Survival is a participant in the Amazon Services LLC Associates Program, an affiliate advertising program designed to provide a means for sites to earn advertising fees by advertising and linking to Amazon.com.
Telson Survival is supported by its readers. Please assume all links are affiliate links. If you purchase something from one of our links we make a small commission, at no extra cost to you. This helps us pay for the running of this website. Thank you for your support!
To start a fire in the wilderness might be your one chance to survive in a critical situation.
You don't know when something will go wrong.
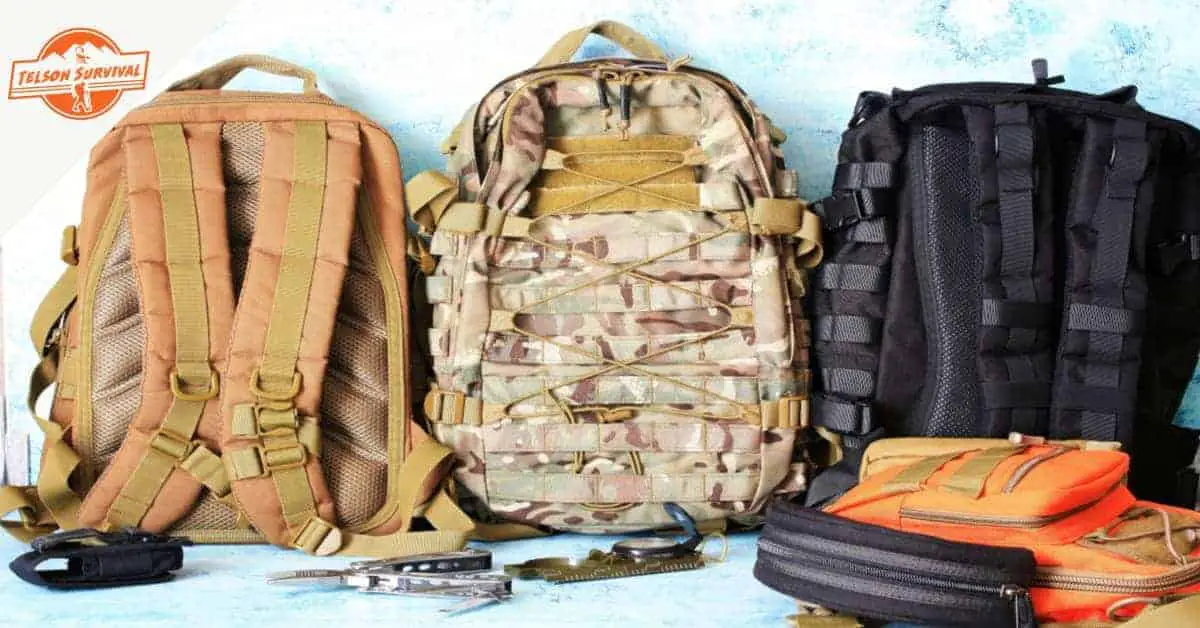
Therefore, as a conscious prepper and outdoor enthusiast, a survival fire kit should be considered mandatory equipment.
Being able to start a fire in any circumstance will provide you with the means to:
keep yourself warm and comfortable
cook meals and boil water
keep off insects and wild animals
signal for rescue
Years back there weren’t so many tools out there, except what nature offered, to help one start a fire when lost, isolated or simply camping in a remote location.
However, these days we have several tools or objects that we can always carry with us to help cope in an unpredictable situation where a fire can make a difference
Below you will find some of the most efficient methods to start a fire, whether in an emergency or a predetermined situation.
To better understand how a Ferro rod works, it's essential first to understand what it's made of.
Ferro rods are made of Ferrocerium, a man-made synthetic alloy that generates hot sparks that could reach up to 5,430 °F (3,000 °C) when scraped with a sharp edge or a rough surface.
Ferro Rod Benefits
Extreme reliability!
The ferro rod has turned out to be the most efficient utensil for building a fire mostly due to its resistance to extreme weather conditions.
No wind, rain or snow can stop you from achieving a flame with this tool. With the ability to create a spark that burns upwards of 5000 °F, you can rest assured you will start a fire without difficulty!
In addition, compared to conventional lighters, ferrocerium rods work better at higher altitudes. It is considerably difficult to create a flame using a lighter after about 11,000 feet given the low amount of oxygen in the air.
Although not impossible to achieve this with a regular light as well, you might end up getting frostbite by the time you get to the point of having a first flame.
A Ferro rod is the best option for this scenario of rarefied oxygen in the air.
Compact and easy to carry
One of the reasons why they are a popular choice for many outdoor and survival enthusiasts is because they are light and quite small, making it easy to carry around.
You can easily toss one in your wallet or attach it to your key chain.
How To Use A Ferro Rod
Extra elements you might need
Of course, a Ferro rod does not simply create sparks standalone, you do still need some additional elements. Luckily, they can be easily found or carried upon you:
Dry tinder - this could be anything from cotton balls, dead grass, dry wood shavings, dry twigs or bark, petroleum jelly cotton balls, waxed cotton pads, and char cloth
A sturdy blade or metal tool with an uncoated and squared-off spine
Identifying a suitable fire space around you. This includes finding a rather open space, cleared of leaves and twigs for at least 1 meter in diameter. Digging a Dakota Fire Hole might come up handy for efficiently burning fuel and better fires.
Finally, since there are many varieties of Ferro rods out there. Having with you the one that most suits your needs and tastes is as important as having all the other elements handy
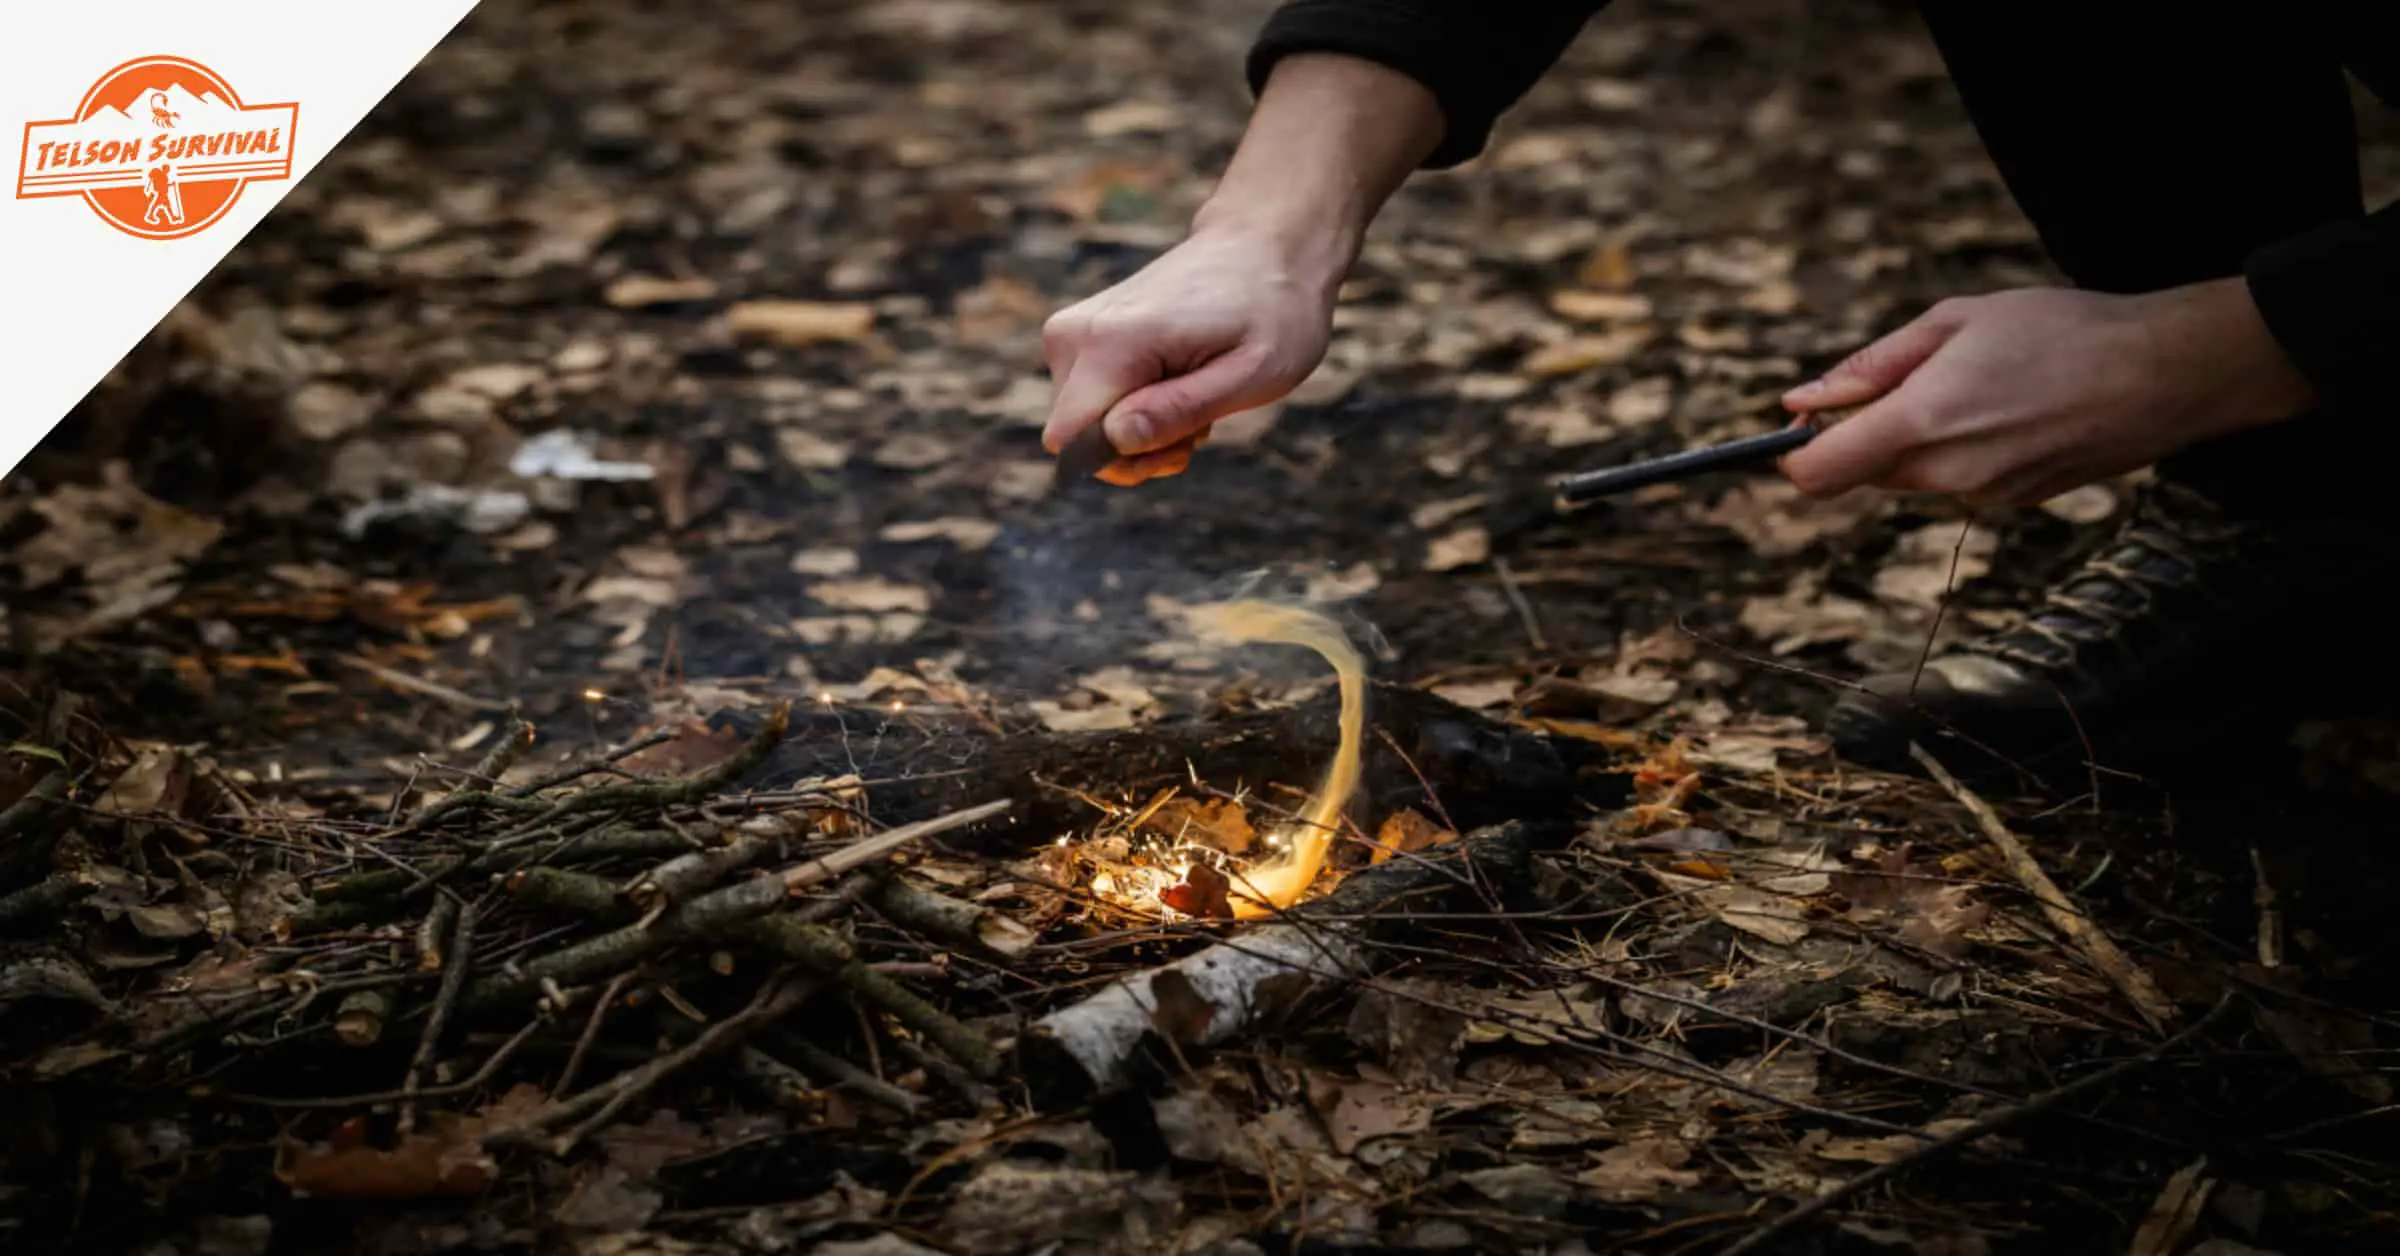
Starting a fire with a Ferro Rod
Now that you have all you need, here are the steps to start a fire using a Ferro rod:
Prepare your tinder
Get your knife and rod and strike the knife spine on the rod until it starts to produce sparks
As a few hot sparks land on the tinder or you notice smoke coming up, stop and gently blow towards the tinder to get a flame.
You can then transfer the fire to a pre-made campfire space with the logs ready, or just build up over the tinder by piling larger sticks and logs on top until there is a roaring bonfire.
We recommend practicing this technique before going camping or just at any time you have time to spare, as this will provide you with useful experience in emergency situations.
It is advisable to try this in an open space, not indoors, to avoid hazards, some place where it will be easy to control the eventual fire.
If you have a yard or an open field nearby, go ahead and take your tools outside and practice the angles and tools positioning until you manage the find the technique to position those sparks on the tinder.
Benefits of ferro rods for starting fires:
Reliability – Ferro rods are durable and long lasting. If performed correctly, this method can create multiple fires, as it can produce many sparks
Durability – it is rather difficult to break a ferro rod and chances are that it will still work even if it gets damaged
Quick – Ferro rod produces twice the heat of a simple match, so it is easier to set the tinder on fire using its sparks.
Condition proof – regardless of water, wind, altitude, a Ferro rod will still be able to get you some sparks to get a fire started
Varietyand versatility – you will find a good bunch of different types of Ferro rods out there so you can choose one that suits your needs.
Cons of ferro rod for fire building:
Well, variety can be a good thing or a bad thing, considering that not all on the market ferro rods are quality products. You just go with the trial and error method until you find one that is suitable, unless you already have recommendations for the best ones
Practice makes perfect – most of the times, you will not succeed creating sparks first hand, so building a fire with ferro rod will require some practice
It does not create flames – but onlysparks, which means that there are some extra steps to take after the sparks are there
Fire Pistons
Also known as a fire syringe or a slam rod fire starter. This fire-starting tool originated from ancient Southeast Asia.
It's made of a hollowed-out cylinder with a smooth interior, an airtight end and a piston rod, with a smaller diameter that allows it to fit in the cylinder.
The piston is designed with a small cavity at the end to hold up the tinder, an airtight O-ring seal on the other end, and a comfortable handle.
Stay Prepared For Any Emergency!
If you like this article, consider subscribing to our free newsletter. We only send a few emails each month, with quality content related to Prepping and Survival, and absolutely no spam.
Thank you!
You have successfully joined our subscriber list.
How a Fire Piston Works
Remember the Ideal Gas Law you learned or might have heard of in high school?
The basic concept is:
If you trap a gas, air/oxygen in this case, in an immovable space and then rapidly compress it under massive pressure, it will heat up. Enough to ignite the piece of tinder inside!
The air compressing piston that is rapidly forced into the cylinder makes the temperature rise sharply over 400 °F.
As with the Ferro rod, you will still need some dry tinder and appropriate space for this technique to work.
How To Start a Fire Using A Fire Piston
Make sure your fireplace and tinder are close by and ready for the ember transfer from the piston once it is lit
Add a small amount of tinder on the small cavity at the front of the piston
Fit the piston into the cylinder and push it in just deep enough to hold it in place
Brace the cylinder against a hard surface
Grab the handle the piston and quickly push it in and out with fast moves, compressing the air with the purpose of obtaining an ember
If successful, quickly transfer the ember to the tinder you had prepared before and gently blow towards it to get a flame
Pros of Fire Piston for fire building:
Practical – a fire piston is a small and compact tool, easy to carry around in a bag or emergency kit
Longtermuse due to near infinite fuel
Fast and easy to use
Cons of Fire Piston for building fires:
As with the Ferro rod, it does not work standalone, so you still need to have good tinder
Non-durable – unlike the Ferro rod, the Fire Piston tends to break rather easily. Make sure you have extras with you all the time if you have no other fire-starting method available
If you've decided to buy a fire piston for your bug out bag, check out our dedicated guide on the best fires pistons on the market.
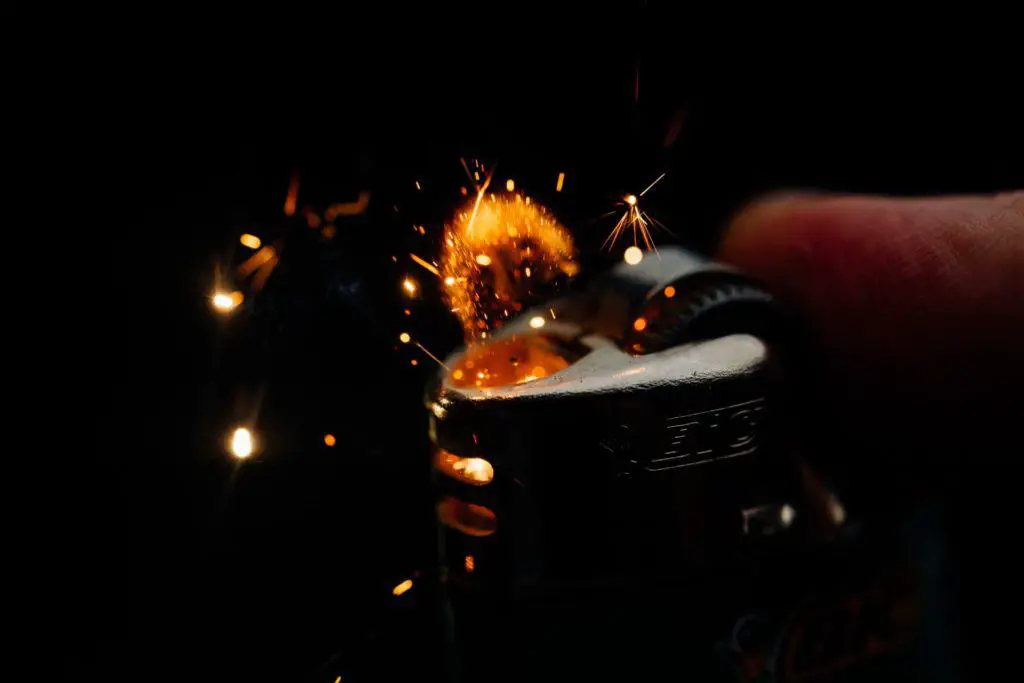
Survival Lighters
Simple to use and easy to find, lighters are the go-to utensil for the ultimate survival pack. They'll get you warm fast and easy.
Offering a wide range of varieties and purposes, from BIC lighters to dedicated survival lighters, you will find it easy to identify the best one for your purposes.
We do recommend though a proper survival lighter as it works perfectly on all weather conditions and is usually made of high-quality materials that ensure it lasts long and works when you most need it.
Types Of Survival Lighters
BIC Lighter
This is the most common of all. You've probably seen it a million times or actually have one lying around.
They are cheap, easy to find or replace and can be easily personalized to look neat.
Survival lighters are cheap and effective for the most part.
Unfortunately, they are filled with Butane, which doesn't work too well in colder weather. They are also rather fragile.
They easily break even by a plain drop on the floor and can't be refilled once they run out.
Storm proof Torch Lighter
As the name suggests, the storm proof lighters are designed to work during gusts of winds blowing at the top speed of 113 to 129 mph.
They are small, light, and waterproofed with an O-shaped sealer.
Unfortunately it come with a set of cons:
It doesn't work in cold conditions as it uses butane.
The lighter fuel runs out very fast, with only an estimated 1000 ignitions.
Expensive as you have to keep on refueling
Waterproof Lighter
These small lighters are so practical that you can attach them to a key-ring; otherwise, you would lose them entirely.
They are more affordable than most lighters and can be refueled in just about anywhere.
Pros:
Waterproof - You can walk through a swamp or river with the lighter submerged, and it will still work.
It's very light, compact, and easy to carry around.
Convenient to refill: It runs on naphtha fuel that can be easily purchased from most local stores.
Cons:
Not usable in harsh weather: it will not be easy to get a flame in stormy weather, heavy rain or freezing conditions.
Invented by George G. Blaisdell back in the thirties', they are one of the most famous lighter brands in the world.
Their classic lighter's 'click' is a protected trademark that has made it appear in over 2000 films!
Pros:
It works perfectly in the wind.
Can be easily used even when you've got thick gloves on
Most parts of the lighter can be replaced if worn out
It's durable and sturdy, therefore, can withstand most harsh conditions
Quite stable when placed down on most surfaces; hence, no need to hold onto it while it's on
It's considered cool and classic
Cons:
Not waterproof
The fuel evaporates quite quickly as the lid is not airtight to the case.
If dropped while alight, it has the potential to set anything flammable on fire, just like they drop them in the movies
They emanate a rather strong petrol odor
Floating Lighter
Considered to be among the best survival lighters, the floating lighter keeps the flame on even when dropped in a puddle.
Pros:
Being a floating lighter, it is definitely waterproof
Some are equipped with ultimate survival technologies enabling them to perfectly produce a flame in windy conditions
They are made of waterproof and impact-proof ABS plastic thus are durable
Cons:
Doesn't work well in cold conditions as it uses butane
Expensive to refuel as it uses a higher grade butane
Flint and Steel
It is by far the cheapest and easiest of all survival fire starting methods. As with most fire-starting methods, you still need some extra elements to join forces with this one. Some tinder and char cloth will be enough though to do the job.
How a flint and steel works
Prepare your tinder and char cloth to be ready to receive the fire
Prepare a proper fire bed
Place a small piece of cloth on the flint and strike it on an angle until the cloth is lit on the edges
Place the glowing cloth on the tinder and blow gently until you get a flame
Flint and Steel Benefits
Works on windy weather – unlike matches or common lighters, this method actually works better in windy conditions
Compact and easy to carry with
Longlasting
Flint and Steel Disadvantages
Not standalone
Just like the ferro rod, it requires practice to reach the perfect striking angle
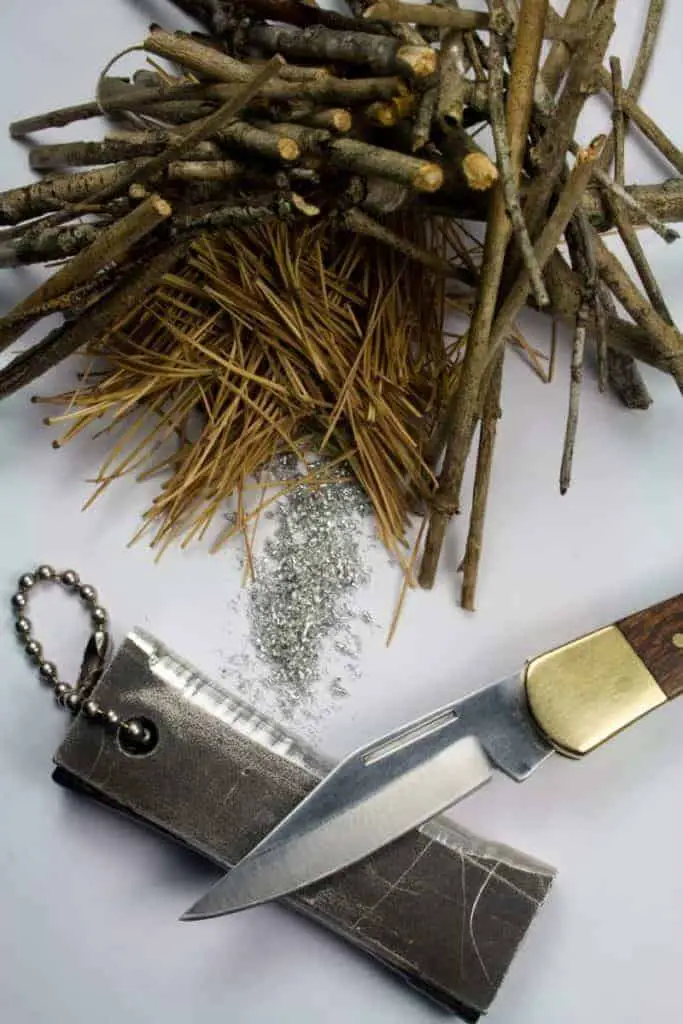
Magnesium Fire Starter
This is more of an updated version of the traditional flint and steel with the advantage that the magnesium shavings flame fast at an extremely high temperature.
Its efficiency made it popular among the military forces, making it a good alternative to less resilient fire-starting methods.
Nowadays, there are pre-built packages that include the striking blade, however, a plain magnesium block accompanied by any knife can do the work just as well.
For this method, you still need either tinder, dry grass or kindling as fuel for the fire.
How a magnesium fire starter works
Use a knife blade or the striker to shave a pile of magnesium flecks into a nest of tinder.
Strike the steel edge with the knife blade or the scraper provided and direct sparks onto the tinder.
Once the tinder starts to smolder, gently blow on it until it bursts into flames.
Magnesium Fire Starter Benefits
Fast and durable fire – once lit, the magnesium burns fast at a high temperature allowing more “fuel” to be added on top of the initial fire
Practical – compact and easy to carry with
Longlasting – it does not deteriorate easily
Waterproof
Magnesium Fire Starter Disadvantages
As with the ferro rod, there are chances you will also find poorquality magnesium bars on the market
Keep away from salty water, as it does damage the magnesium bar
Sensible to weather conditions – unless you have a good pile of fuel, the magnesium bar is not very efficient in windy conditions
Takes practice to create a good spark
Alters the blade of your survival knife – if you don’t already have a magnesium kit
Hand Drill
Although one of the most ancient techniques, requiring some effort, patience, and skill to implement, this method is still not the most complicated one for starting a good fire when needed.
In spite of the effort required, all that is required for this method to work is a drill and a fireboard.
How To Start A Fire Using A Hand Drill
Find a softwood stick for the drill and curve one end to a rounded point
Cut about an inch-deep hole on the fireboard close to the edge.
Cut a v-shaped notch connecting the hole to the edge of the board.
Fill the v-shaped notch with tinder
Position the curved point of the drill into the hole on the fireboard.
Place both palms firmly on either side of the drill and rub them back and forth while applying a downward pressure for added friction.
Keep spinning the drilling until smoke and embers form before gently blowing to develop a flame.
Hand Drill Benefits
Reliable – for when you don’t have actual fire-starting tools with you
Easy to prepare for – just a few steps before actually having a fire working for you
Rudimentary, but still versatile – if any of the parts gets broken in the process, you have big chances to find replacements around you
Hand Drill Disadvantages
Effort and practice – you will probably not get this going from your first try
Takestime – this is not the fastest method to starting a fire
Materialdependent – you might go with the trial and error method a few times before finding the right kind of wood for this technique to work
Starting a Fire With Survival Tools Conclusions
Always choose what best works for you, since any of these methods suit different types of skills or patience.
We've gone through a lot of stuff that might seem obvious to outdoor enthusiasts, but check out a few survival stories out there, and you'll notice how many of the things we have outlined are practical in real-life situations.
Going that extra mile to always use a "must-have" survival kit, or practice and familiarize with new tools, equipment and techniques might seem like a hassle, but you'll be so glad you have everything you need when the situation requires it.
Think we've missed out on anything? Drop us a comment, and we'd be glad to add it to our list!
A flare gun is a pistol-like device that fires flares for signaling or illumination in emergencies. This article will help you decide what the “right” flare gun is for preppers!
Urban, suburban, rural, and wilderness preppers should all study and master survival foraging. This basic foraging guide will get you thinking about finding survival foods in the wild.
No stone will be left unturned as we explore everything preppers need to know about smoke grenades. What are the best to buy and should you keep them in your Bug Out Bag?