How can you increase your chances of survival if you find yourself far from your survival supplies? The solution is simple: prepare a survival cache.
Telson Survival is a participant in the Amazon Services LLC Associates Program, an affiliate advertising program designed to provide a means for sites to earn advertising fees by advertising and linking to Amazon.com.
Telson Survival is supported by its readers. Please assume all links are affiliate links. If you purchase something from one of our links we make a small commission, at no extra cost to you. This helps us pay for the running of this website. Thank you for your support!
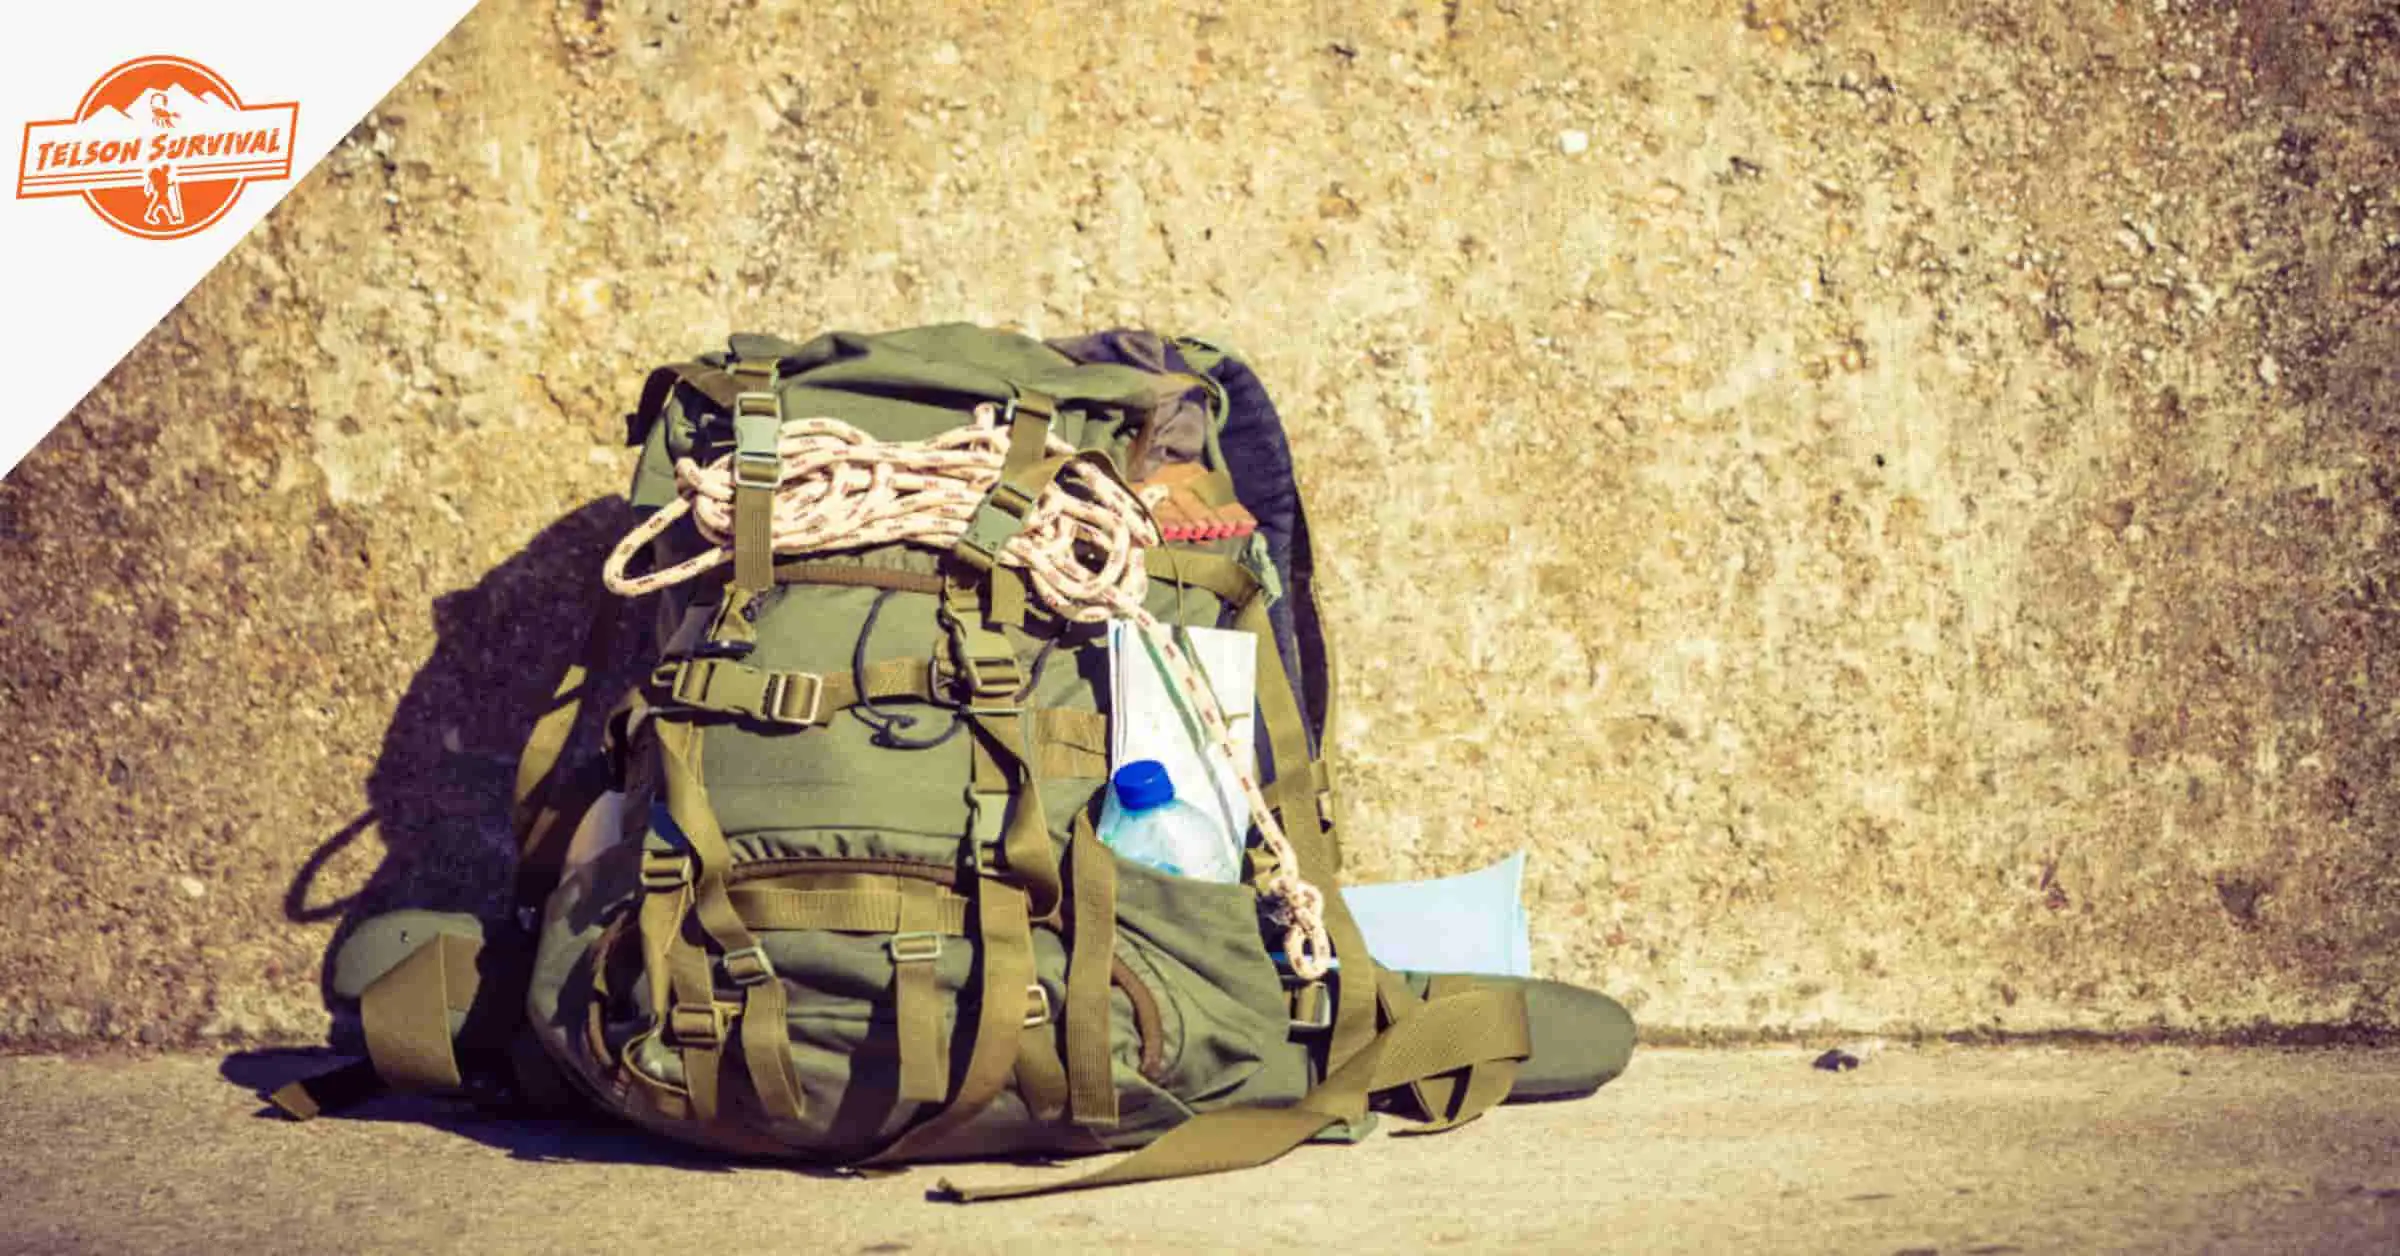
You’ve been doing your homework. You’ve got your Bug Out Bag ready and safely stored at home. You have your Get Home Bag prepared.
You have been working on building up your emergency food stash and survival supplies for your home. You’re definitely on the right track in preparing for an emergency or survival situation.
But still, you most likely have a few lurking questions.
Here’s a big one: What happens if you need to bug out, but can’t get home to your bug out gear?
How can you increase your chances of survival if you find yourself far from your survival supplies?
The solution is simple. You need to prepare at least one survival cache.
In a hurry? If you just want to get to our conclusions, here are our top picks and recommendations!
What is a survival cache? It is a well selected stash of survival supplies and gear that is kept well hidden or buried in a secret location.
You may want to place your survival cache along the route to your bug out location or in a convenient spot between your work and home.
The main idea is that your survival cache will house key supplies conveniently stashed and ready to access if you need to restock or replace essential survival items.
In this comprehensive guide to building a preppers survival cache we’ll explain in plain, non-technical terms:
Why you need to prepare a survival cache.
The essential survival supplies and gear that should be included in your cache.
All about prepper cache containers.
How and where to bury or hide your survival cache.
Safe methods to retrieve your cache.
Tips for preparing your cache according to the natural and human environment
Why You Need a Survival Cache
Imagine the following scenario.
You're at work downtown. All of a sudden you see a crowd running down the street outside.
You hear glass breaking. Suddenly there is smoke and you realize the building next door is on fire.
A peaceful protest just turned into a riot and you need to get out of there fast.
You lock up as fast as you can and head out to your car only to find that it has been vandalized. Your Get Home Bag is nowhere to be found.
You have no choice but to set off on foot towards home, which is about 15 miles away in the suburbs.
After an hour or two it’s dark, starting to rain, and the riot police are in the streets enforcing an emergency curfew.
There’s no public transportation. Your cell phone is dead. And it looks like a warzone on the street.
You’re not worried, however, because you are near a local park that is located about halfway between work and home.
Being prepared for when SHTF has always been a priority for you, so you had strategically prepared a survival cache and hid it in this park a couple of years ago.
You go right to the spot, start scraping away at the ground and quickly uncover your cache.
In no time you have set up a tarp for shelter, have changed into a dry under layer of clothes, and have water boiling away on a camp stove to heat up your instant dehydrated dinner.
In the morning, you pack everything up and head home, leaving no trace of your unexpected urban survival adventure in this isolated corner of the suburban park.
This scenario can happen to anyone in any city and perfectly illustrates the importance of preparing a survival cache for urban preppers.
Stay Prepared For Any Emergency!
If you like this article, consider subscribing to our free newsletter. We only send a few emails each month, with quality content related to Prepping and Survival, and absolutely no spam.
Thank you!
You have successfully joined our subscriber list.
There are many reasons to prepare survival caches no matter where you live:
To not have “all your eggs in one basket” – spreading out your supplies means that you will always have backup gear no matter what happens when SHTF.
You can carry a lighter Bug Out Bag or Get Home Bag knowing that you have more supplies available to you.
Your survival gear is protected. By hiding your caches and dispersing your supplies they cannot be stolen or sabotaged.
Whether you are bugging out, bugging in, or just trying to get home, it is wise to create caches just in case something were to happen to your home or emergency supplies.
Do you tend to travel far from home because of work, school, or social activities?
Is your home in an area that is vulnerable to damage in an emergency situation? Are your emergency supplies at risk of being damaged, stolen, or otherwise destroyed by fire, water, severe weather, or ill-meaning neighbors?
Is your bug out location far from home, requiring multiple days to get there?
If you answered 'yes' to any of the previous questions, you should consider the preparation of an emergency survival cache an absolute essential in your journey towards true emergency preparedness.
If you're serious about survival if an emergency occurs, then you need to have a Bug Out Bag prepared and ready to go.
What Should I Include in my Survival Cache?
What you choose to include in your survival cache will be as unique as you, your living situation, and survival plans and skills require.
Urban preppers may design their survival caches with different gear and supplies than a rural or suburban prepper.
You may also choose to create multiple survival caches, each with different supplies, depending on your circumstances.
Most preppers, no matter where they live or what their circumstances are, will include the following basic supplies when preparing their cache:
Fire starting material.
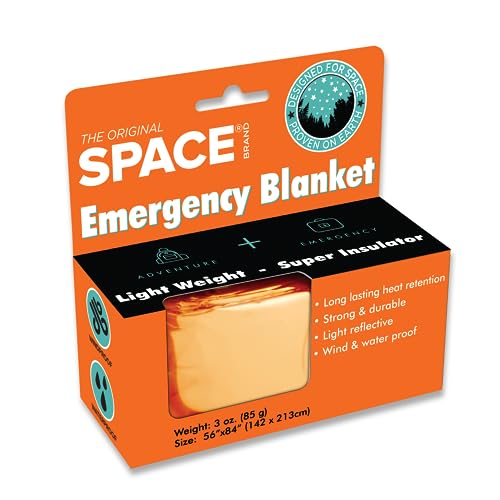
An emergency blanket.
Food
A change of clothes.
Emergency flashlight and batteries
Rope or paracord
Water filter and bottle
A topo map of the area.
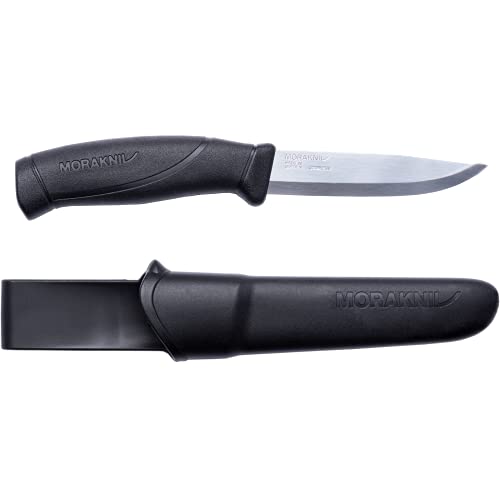
Knife and/or multitool
Basic first aid kit
Camp stove and fuel
Firearms and ammunition
Cash or precious metals
For an overview of the most important survival items you should have, check out our ultimate survival gear list.
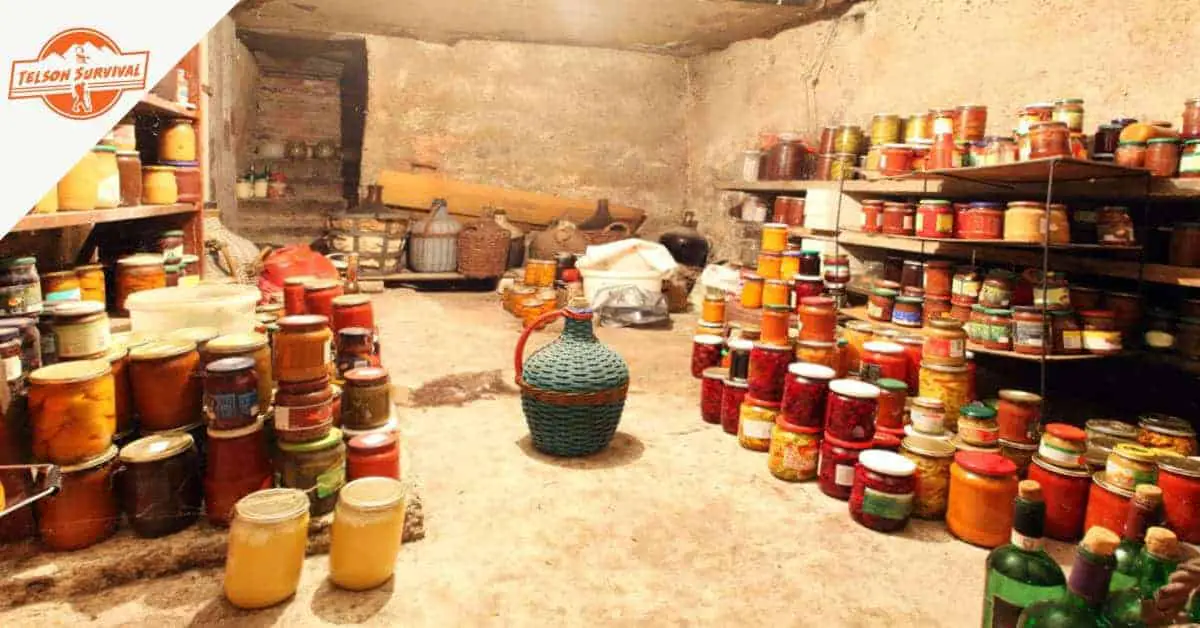
Caching Food
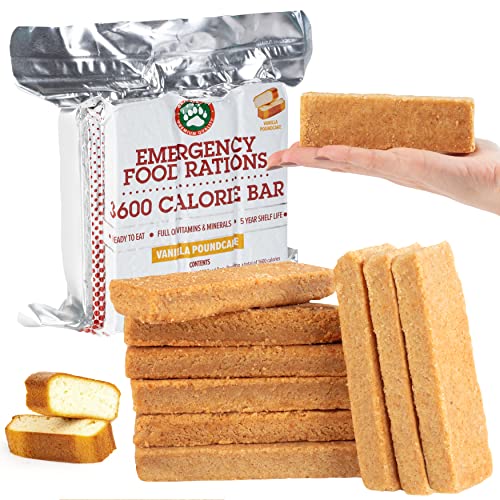
One of the main things that you will want to stock your emergency survival cache with is food.
It goes without saying that the food you decide to store should be non-perishable and very well packaged. The longer the shelf life, the better.
If you want the most ‘bang for your buck’ you may want to consider stocking your survival cache with bare bones high-calorie emergency food rations.
Last update on 2024-12-29 / Affiliate Links / Images from Amazon Product Advertising API
These energy dense survival bars are certainly no gourmet meal. They require no water or heating, will keep you alive in a pinch, and take up very little space in a compact survival cache.
Other options may include freeze dried backpacking meals, dried meat products such as beef jerky, vacuum sealed dried fruit, energy bars, or canned soups.
Last update on 2024-12-29 / Affiliate Links / Images from Amazon Product Advertising API
It is recommended to include a chocolate bar (or two) as well. Chocolate will serve as an instant energy boost and will help take the edge off in a tense situation.
Another product that you might want to include in your emergency food supply is a bottle of liquor. Liquor is multipurpose. A quick swig can ease tension in the body and help you to relax.
It is also a useful antiseptic, fire starter, and bartering product. It also tends to get better with age. Make sure to buy a glass bottle for long term storage.
To find out more about prepper food and what to stock, check out our guide on the best survival food.
Storing Water
Outfitting your survival cache with a supply of drinkable water might be necessary if natural water sources are scarce or heavily contaminated.
Water is heavy and can weigh down your Bug Out Bag or Get Home Bag. Stashing water in an emergency survival cache is a practical way to lighten your load and make bugging out a little easier.
Consider stocking your emergency survival cache with emergency water pouches. These are conveniently portioned for easy rationing and come in a sealed and sterile pouch. They also have a five year shelf life.
Last update on 2024-12-29 / Affiliate Links / Images from Amazon Product Advertising API
Sealed, unopened bottles of water are also a good option for your DIY survival cache and have a long shelf life. They are a bit inconvenient for packing (they are not exactly stackable) though the bottle may be useful for refilling.
If you choose to fill your own containers, you should be able to fill clean and disinfected water bottles with plain tap water. The only downfall with this option is that you should change out the water every six months or so.
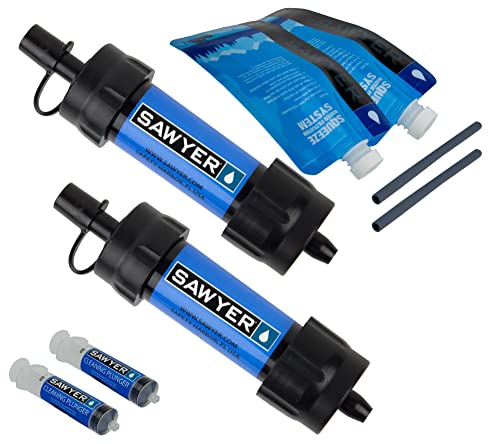
If you live in an area with abundant natural water sources, you might decide that stocking your survival cache with a simple reusable water filter or purification tablets and water pouch is most practical.
Last update on 2024-12-29 / Affiliate Links / Images from Amazon Product Advertising API
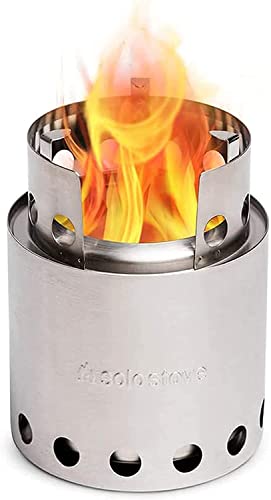
Camp Stove and Fuel
If you are planning on filling your survival cache with freeze dried meals, you will need to be able to heat up water. You may also need to boil water to sterilize tools or for cleaning wounds.
Additionally, in a survival situation, it might not be a good idea to give away your location by building a campfire.
For these reasons, it is a good idea to consider packing a camp stove in your survival cache.
We highly recommend packing a compact backpacking stove such as the Solo Stove Lite.
This model requires no traditional fuel but rather works by burning twigs and other flammable material that can easily be gathered from most environments.
Last update on 2024-12-29 / Affiliate Links / Images from Amazon Product Advertising API
If you are prepping on a budget, you may decide to go with a more economical option for a camp stove.
Whatever model you decide on, make sure that your stove and fuel storage container are made out of rust resistant materials.
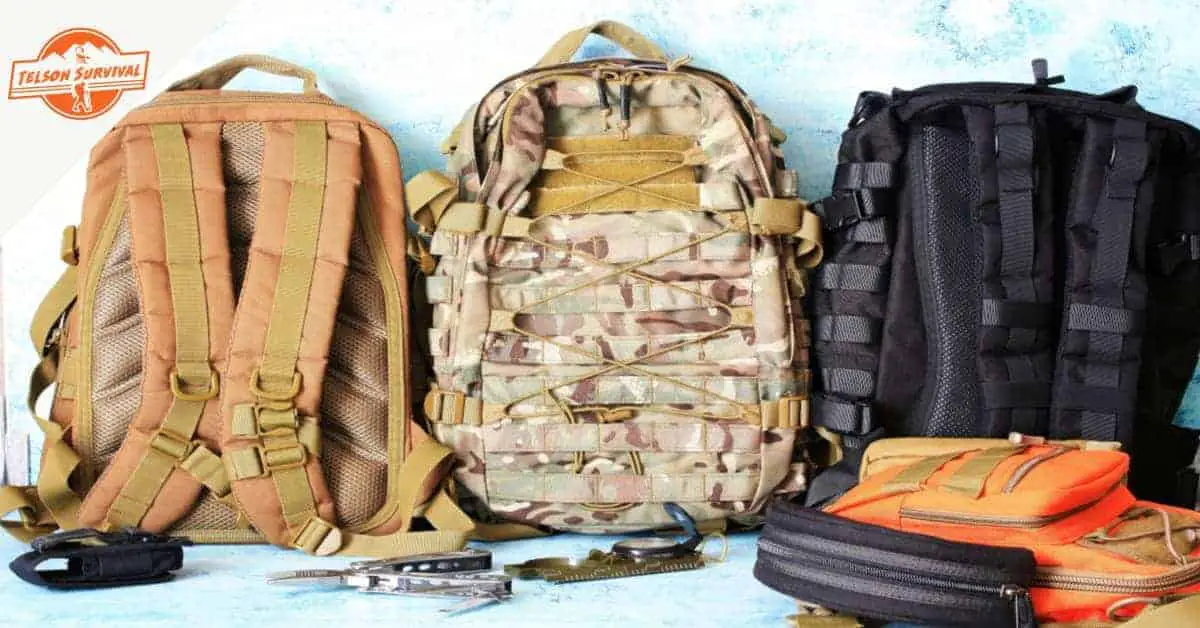
Other Survival Gear and Tools
It might seem redundant (and expensive) to pack your emergency survival cache with the same gear that you have in your Bug Out Bag or Get Home Bag.
But remember, your cache is your back up if you become separated from your preferred survival gear.
Be sure to supply your survival cache with the most essential pieces of emergency gear you will need just in case.
If you are prepping on a budget, feel free to stock your cache with cheaper versions of priority items.
If you get separated from your $300 all-season sleeping bag, you will be glad to have that cheap emergency blanket waiting for you in your survival cache.
Last update on 2024-12-29 / Affiliate Links / Images from Amazon Product Advertising API
Planning and Packing your Survival Cache
When it comes to preparing your survival caches, we recommend that you follow these steps:
Review your Get Home Plan, Bug In Plan, and Bug Out Plan, potential threats, travel routes, and natural resources.
Identify where you should place your survival caches taking into consideration terrain and the distance needed to travel to access them.
Think about the essential survival gear that should be placed in each cache considering the purpose of that particular cache.
Build or purchase the best storage container for your survival cache.
Place the cache and carefully document its location for easy recovery later.
Once you have analyzed your situation, you should be able to develop a good idea of how many emergency caches you need, where to put them, and what to include in them.
Remember, each survival cache will have different contents depending on its purpose and location.
Some caches may be quite large, and others may be relatively small.
Don’t forget to take into consideration the practicality of hiding and retrieving your cache when considering its contents and its size.
Survival Cache Containers
When it comes to choosing the right survival cache container, the options can seem endless and overwhelming.
What is the best underground cache container? What is the best survival storage container if you choose not to bury your cache?
The best survival storage container has a lot to do with what you plan on putting in it and where you plan on hiding it.
For a large cache, you may choose to use a plastic garbage can with a lid. For a smaller cache, you might find a length of PVC tube to be sufficient.
What’s the main requirement for your cache container?
A survival cache container must be completely waterproof and resistant to bugs and rodents.
There are a variety of options that you might want to consider:
Plastic Container with Lid: This is a diverse category. There are many good options to be found. You could opt for a 5-gallon bucket with a lid, a sealed garbage bin, or a hermetic food storage container, for example.
Ammo Storage Containers: These are usually very specifically waterproof and reinforced for strength. Plastic and metal options are available and they come in a wide variety of sizes.
DIY PVC Cache Containers: PVC is specifically designed to be buried and is, by nature, waterproof. You can easily assemble a waterproof PVC storage cache by gluing together the needed components. PVC comes in tubes up to 24 inches in diameter and you can cut it in the length you desire. This is the most customizable option available.
Mono Vault Containers: These are basically guaranteed commercial versions of the DIY PVC option. They come in various sizes and are guaranteed to keep air and water out. These are great if you do not want to take any chances that the contents inside will be exposed to the elements.
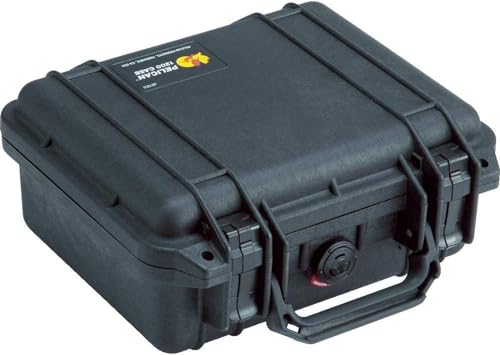
Pelican Cases: Pelican cases are particularly great for firearms and are available in all shapes and sizes.
Vacuum Sealed Storage Bags: These come in a variety of sizes and are particularly useful for storing clothing, sleeping bags or blankets, or other bulky items. You can also buy a roll of vacuum sealer tubing, allowing you to custom size your bags for smaller storage needs.
Last update on 2024-12-29 / Affiliate Links / Images from Amazon Product Advertising API
Packing your survival cache should be done carefully to ensure that your prepper gear is in perfect condition when SHTF.
No matter which survival cache container you decide to pack your cache in, we recommend that you individually package the contents, whatever they may be, in smaller vacuum sealed bags or zip lock baggies.
Inside each bag, include an oxygen and/or humidity packet. This will create an extra level of protection for your survival gear and help to guarantee that should any moisture get into your survival cache, your gear will stay dry.
How and Where to Hide Your Survival Cache
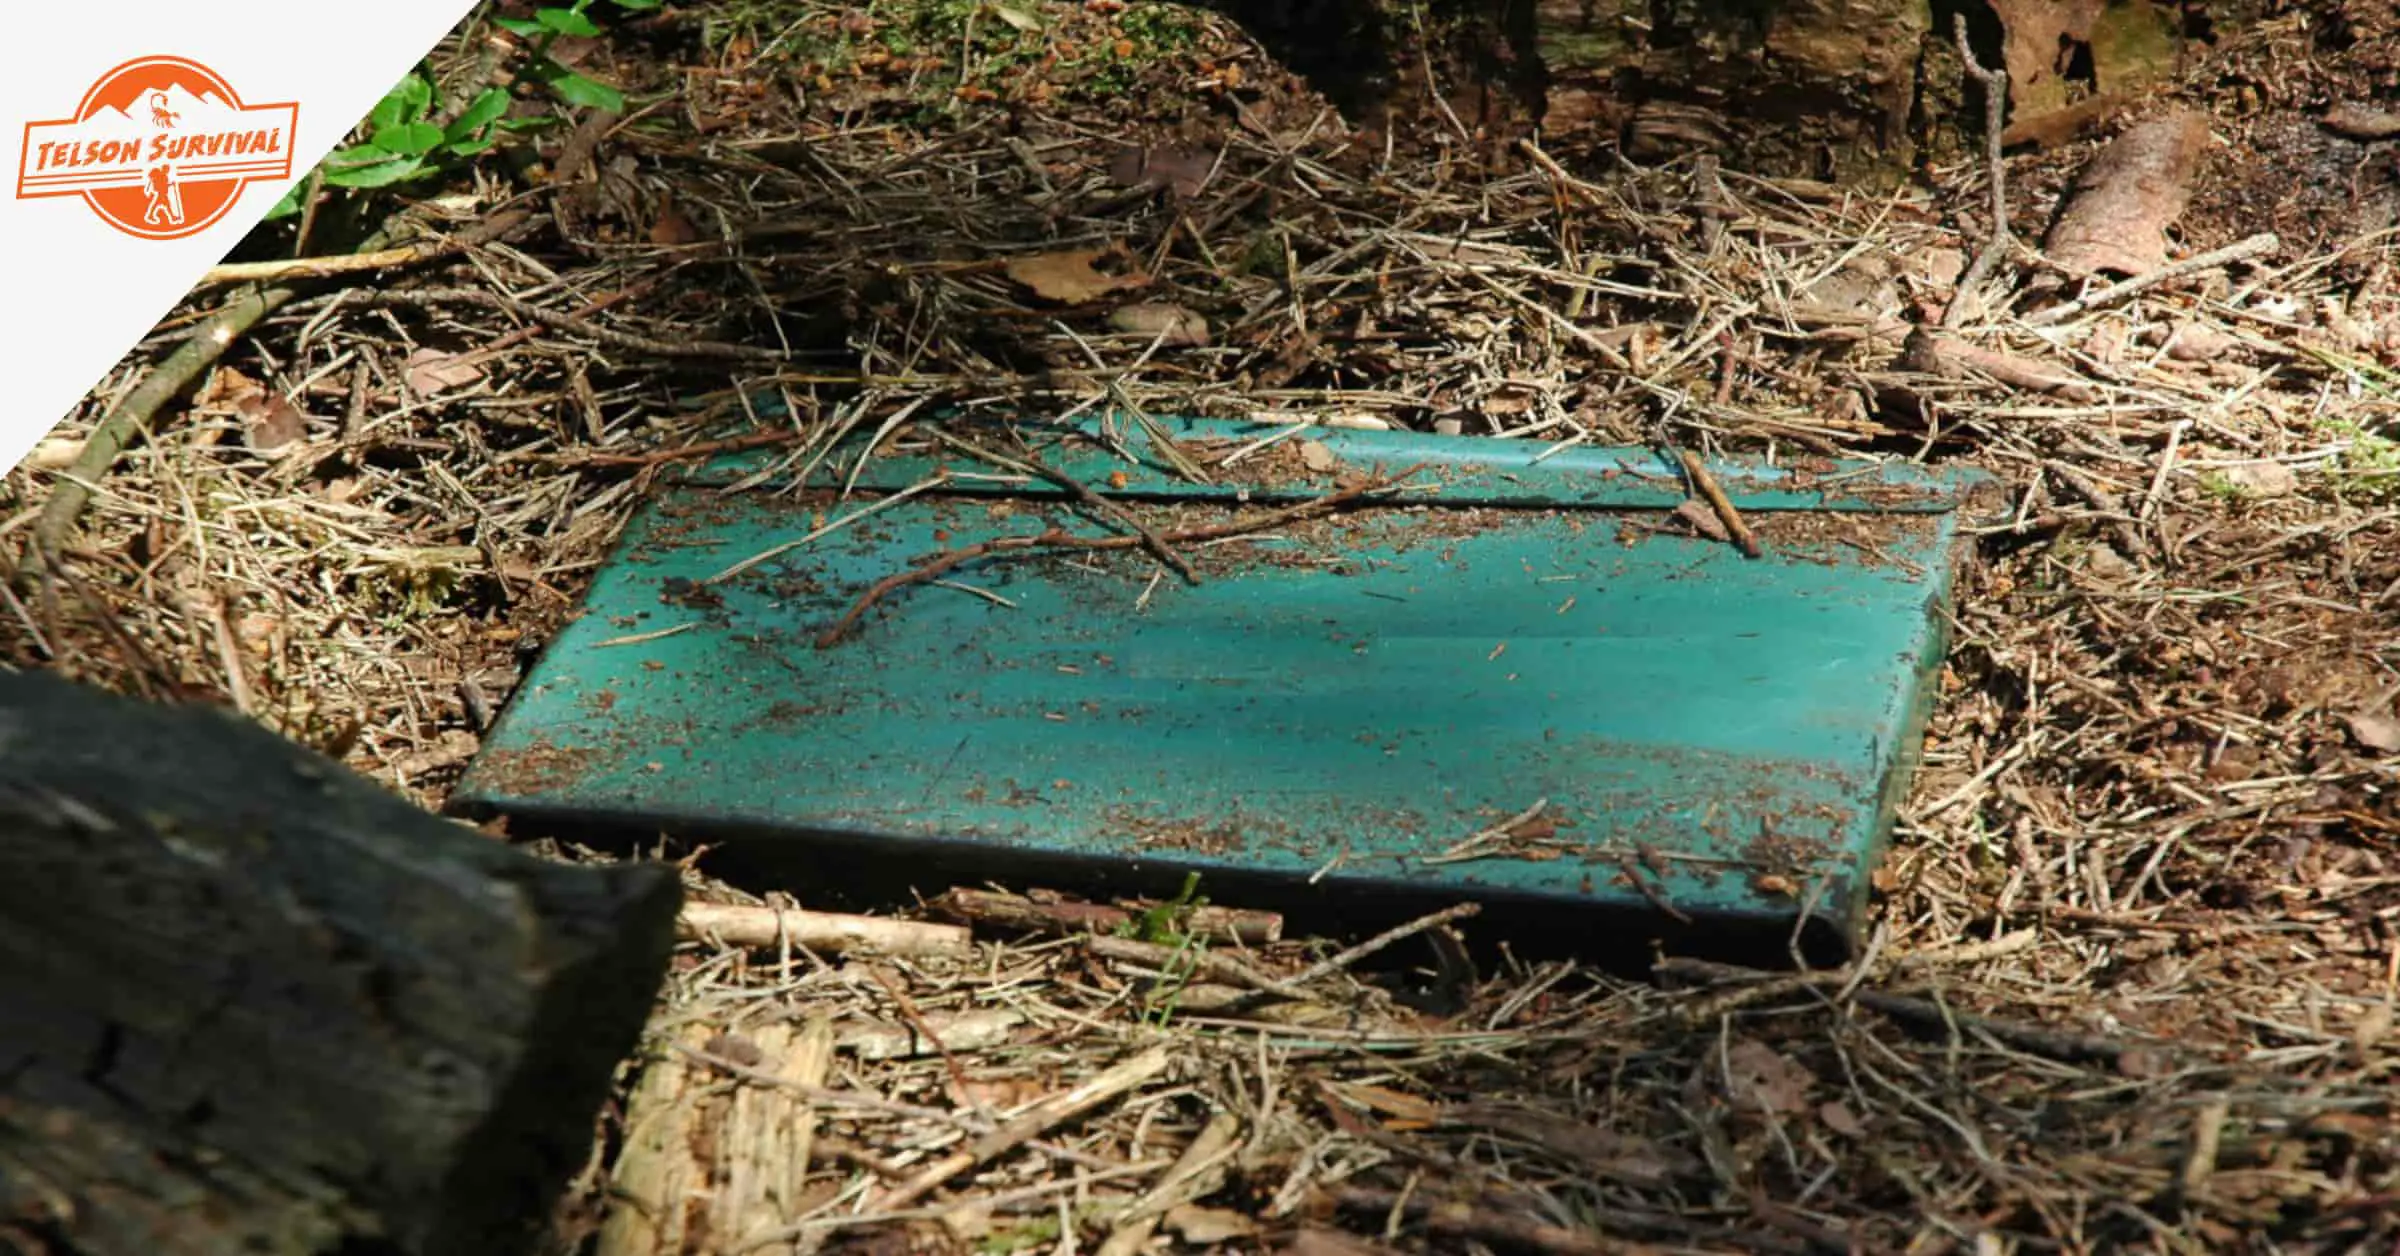
Without a doubt, the most common way to hide your survival cache is to bury it.
There are, however, very valid reasons to NOT bury an underground cache.
You are physically unable to do the work required to bury and dig out the cache.
Digging a deep hole, especially for a large cache, requires a great deal of physical effort.
Uncovering the cache, especially when pressed for time, will require additional physical effort while stressed.
You live at or below sea level or where flooding might be an issue.
This will impact your ability to retrieve your underground cache container in certain kinds of emergencies. It will also compromise your prepper cache during the years that it is stored underground.
Your survival cache could float up (and away) or your waterproof seal could be damaged and fail due to the extreme conditions over the course of several years.
You live where the ground freezes or snow accumulates for part of the year.
Snow can impair your ability to find your cache and the frozen ground can be a tough obstacle when you need your survival supplies in a hurry.
The freeze/thaw cycle of the seasons can also cause your underground cache container to deteriorate, putting your survival gear at risk.
You live in a high traffic urban environment.
Remember, your cache is secret. If you cannot bury it without being discovered by prying eyes, you will most likely not be able to unbury it without prying eyes.
Alternatives to an Underground Survival Cache
There are a couple of great alternatives to burying your cache that you may want to consider.
You will need to carefully plan the placing of your cache so that it is easy and safe to retrieve.
Camouflaging your Survival Cache
Hiding your cache in plain sight both indoors and outdoors is an effective method for storing your emergency survival gear. You can get really creative with this.
Hide your survival cache in an abandoned car in the woods. Hide it in your woodpile out back. Hide it behind a false wall in your home. The possibilities are endless.
Keep the following tips in mind:
Go heavy duty on the waterproofing if your cache will be exposed to the weather. Add an extra sealant to your storage container.
It’s easier to hide multiple small survival caches instead of one large one. Divide your gear and spread it out.
Don't skimp on the camouflage. Ensure that your camouflage will hold up to years of varying weather conditions or that it blends seamlessly into its indoor surroundings.
If in an urban or suburban environment, make sure that there are no surveillance cameras in the area when placing your survival cache.
For a simple guide on how to paint camo on any surface, check out the video below.
Aerial Caches
Another common alternative to burying your survival cache is to secure your cache container to a tree or other tall structure.
Few people rarely look up and most people lose interest in climbing trees as they age out of childhood.
Keep the following tips in mind:
Pick a tree that you will be able to climb easily, does not stand alone, and is healthy.
Secure your survival cache firmly to the trunk of the tree. You do not want animals, winds, or falling branches to knock your cache out of its hiding place.
Camouflage your cache. Make sure that your cache blends seamlessly into its surroundings and cannot be seen from below or above.
Do not plan an aerial tree cache if you live in an area prone to wildfires or severe wind storms.
Burying Your Survival Cache
As previously mentioned, burying your cache is the most common and recommended way to hide your survival supplies.
When you select a location to bury your underground survival cache, be sure to consider the following:
Quality of the terrain.
You need to consider the soil’s defining characteristics and drainage quality before placing your cache.
Soils that are sandy, rocky, loamy, or clay based vary in how easy it is to dig and the tools you will need to open up a good cache burial hole.
If there is poor drainage, you could be potentially putting your underground survival cache at risk if your cache container’s waterproofing fails.
It is recommended to look for high ground with good drainage.
Visibility.
Will people see you digging the hole? Are you at risk of being discovered when you uncover your supplies?
If you cannot dig your hole without exposing your location, you need to find another spot.
Camouflaging the spot.
Digging a hole, especially if it is a large one, will create a large amount of displaced earth.
Your efforts will be visible for days, and maybe weeks to come. Plan ahead and know what you are going to do with any extra dirt that may be displaced by your buried survival cache.
Carefully camouflage the site after you have buried your cache, eliminating all evidence of your work.
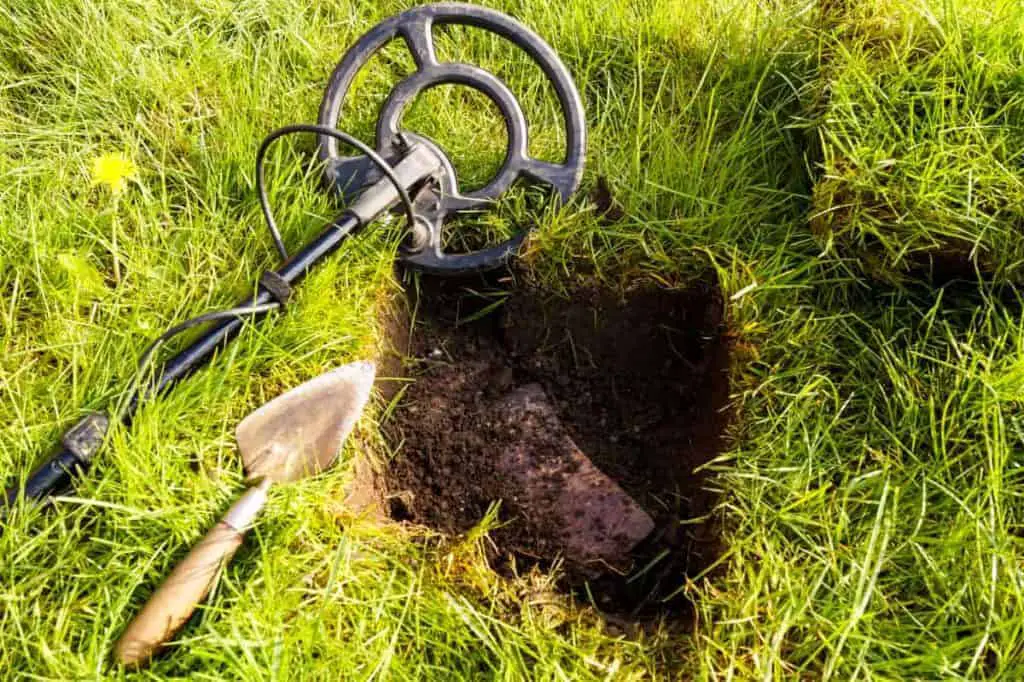
Metal detectors can be your worst enemy.
If you will be using a metal survival cache container, you need to be aware that it may be found by the use of metal detectors.
It’s a good idea to dig your hole deep enough to allow for the use of “decoy” metal scraps mixed into the fill covering your cache. This will throw off any treasure hunter and discourage them from digging deeper.
Depth.
Plan on digging your hole to allow for at least 20 inches of dirt to go on top of your cache container.
If you are working on rocky terrain this may not be possible and you may want to reconsider the spot you've chosen.
The land your cache is buried on.
If you are burying your survival cache on your own property, you shouldn’t have to worry too much about this one. If the land is not yours, you need to know how the land your cache is hidden on may be used in the future.
Is it likely to be logged? Might it be sold to a developer? Are there any mining companies interested in developing a project there? Is it public?
If so, which agency manages it? What kind of use does the public make of it? Is it private? Who is the owner? Knowing the answers to these questions will help you decide the best place to hide your cache.
If you opt to bury your survival cache, remember that you will have to dig it out as well - most likely in a hurry. Make sure to have appropriate tools available to get the job done.
You may want to consider discreetly hiding a shovel close to your cache or including one in an aerial cache close to your chosen burial site.
Environmental Factors to Consider
As mentioned in the previous sections, there are certain environmental factors that you should consider when deciding where to store your survival cache.
Please, don’t underestimate their importance. When SHTF mother nature will not care about your best laid plans.
In fact, it might be mother nature herself throwing the s*** at the fan.
Here’s a quick summary of different environmental considerations you should keep in mind when planning how and where to hide your survival cache:
Proximity to water and the possibility of flooding.
Groundwater levels and flow.
The likelihood of natural disasters that can impact your cache - wildfires, hurricanes with high winds and flooding, tornados with high winds, etc.
Different seasons in your region.
Soil type.
Animal activity in the area.
Human activity in the area.
Retrieving your Survival Cache
Retrieving your emergency survival gear starts with being able to locate it well after you place it. You need to be able to recover it without anyone seeing you.
Both of these steps require very careful planning.
You cannot be wasting time digging holes that lead to nowhere, climbing up the wrong trees, or exposing yourself to prying eyes.
In a Bug Out situation, time is critical. The last thing you want to do is waste your time looking for your survival cache and potentially not finding it.
In fact, not being able to find your survival cache is the worst thing that could happen to it!
Even if your cache is hidden inside or close to your home, you should document its location in writing. If you have a cache on your property, you would be wise to indicate its location on a map.
If your cache is far from your home, it is an absolute necessity to carefully document its location. This is the only way that you can be sure to find your survival cache in the future.
Properly documenting your cache will also allow you to share its location with family members or others in your survival group if necessary.
Documenting your Cache Location
Many people recommend taking exact GPS coordinates to mark the spot of your survival caches on a detailed map.
This is a quick way to document the location of your survival cache and may be helpful when the moment comes to recover it.
It should not, however, be the only way that you note the location of your cache.
There are a few reasons to not rely exclusively on GPS technology:
When SHTF, satellites, and signals may fail or not work properly.
Batteries may fail on your GPS equipped devices.
GPS technology can be used to track you.
The best way to document the location of your survival cache is multifaceted and requires a careful survey of your chosen survival cache site and its immediate surroundings.
Here’s what you should do to document your survival cache location:
Look for easily identifiable landmarks near to the exact cache site. These can be rocks, trees, etc. Choose landmarks that are identifiable despite seasonal variations. Measure the exact distance between these landmarks and the location of your cache.
Discreetly mark these landmarks with an identifiable symbol. This can be a chiseled line in a rock face or an ax mark in a tree trunk.
Take photographs of each landmark, aiming in the direction of your cache site. Be sure the identifiable symbol is clearly shown in the picture as well as the location of the cache.
Take pictures of the site and the landmarks in the different seasons. Print these off and include them in the documentation of your survival cache.
Create a detailed map of the cache site. Indicate the specific location of your survival cache and each landmark with its identifying symbol. Document the specific distance between each landmark and the cache.
Create a detailed map of how to get to your cache site. This should ideally be done using a topographic map that shows elevation and natural features in addition to rustic trails, roads, and highways.
Identify and mark specific landmarks along the route to get to your survival cache. If you are planning multiple entrance routes to your cache site, you can indicate each route on one map or you can create different maps for each route.
Note specific distances and approximate travel times between the indicated landmarks and specific reference points. These can be calculated by using GPS reference points and/or a route tracking app. Include this information on your map.
Write very specific written instructions detailing the route, landmarks, distances, etc. to get to your survival cache. These written instructions should be clear, detailed, and attached to your maps. It may be a good idea to also include a description of the contents of your cache.
In the end, you should have a complete packet that includes written instructions, an area map, a site map, and photos for each survival cache that you prepare and hide.
This is the best layman's way to find remote survival caches when SHTF and GPS satellite systems have failed.
The other advantage of this documentation system is that your cache does not die with you.
In general, we should take every precaution to keep our survival caches an absolute secret.
But what happens if the world has gone crazy, s*** has hit the fan, and suddenly you have a shattered leg. There’s no way you are going to be bugging out.
Instead, you send your family without you.
Not a single person has seen the survival cache site that you had prepared, but they are going to need those supplies.
You pass off the packet with the maps and photos to the most capable person in the group, and they’re off. You might not have made it - but your family will.
And even if you never have to rely on your survival caches in your lifetime, there may come a point that you struggle to maintain them and wish to pass them off to your children or another family member.
This may be especially true if your survival cache includes stores of precious metals or firearms.
Remember the following tips when you are documenting the location of your survival cache:
The maps must be clear and detailed.
Use reference points and landmarks that will most likely not change position or be wiped out by a natural disaster.
Use non-technical language and descriptions that can be easily understood by others in an emergency situation.
Store your survival cache documentation together with your other important documents. Additionally, store extra copies in your BOB and GHB.
Recovering Your Survival Cache
Once you have planned, packed, hidden, and documented the location of your cache - the next step is taking practice trips to the cache to check on it and to practice recovering it.
The practice of returning to your cache, at least once a year, will allow you to:
Verify that it is still there.
Change out any items that may have expired such as foods or medicines.
Verify that there is no water damage to the contents.
Test your ability to find it using your documentation.
Update your documentation if your landmarks have changed.
Help you to learn the different routes to access your cache site.
Help you to learn the exact spot of your cache without depending on your documentation.
Returning to your cache periodically will also allow you to test out your covert survival cache recovery skills.
Because you do not want anyone to see you recover your cache, you need to know how to secretly recover your goods.
Getting your goods from your survival cache should be considered a covert operation.
The last thing you need when SHTF is to be robbed of your backup supplies, especially if they are all that you have left.
Here are five easy tips to stay safe and successfully recover your survival gear:
#1. Don’t Give Away Your Location
Some survivalist folks recommend working under the cover of total darkness. While this may work for some locations, I do not think that this is always the best idea.
If you need to use a flashlight, you could very easily give your location away, attract attention, and unintentionally reveal what you are doing.
Working at night might be best if you have the light of a full moon. Otherwise, it might make sense to recover your emergency survival cache in broad daylight. Use your best judgment.
#2. Be Vigilant of Your Surroundings.
Be aware of any potential witnesses that may exist to your cache recovery.
Do not get so absorbed in the task of recovering your survival cache that you forget to listen for footsteps or to observe the area around you.
Take note of any people whom you might cross on your way to the cache site.
In an urban environment, take note of all video surveillance equipment that may capture your activities.
If there was no camera when you installed your cache, one may very well have been installed since then.
#3. Work Quickly.
If you will be digging a large area to recover your cache, make sure you have the appropriate tools available to you to get the job done as quickly as possible.
The same is true if you will be recovering a cache from an aerial position.
Every time you recover your survival cache, you should consider it a drill for when SHTF in a genuine emergency situation. Work quickly and efficiently, as if your life depended on it.
#4. Have a Cover Story.
If you are checking on your survival cache, it is a good idea to have a believable cover story to justify your actions just in case you are discovered.
If you are in an urban park, maybe you are a "city worker" looking for underground lines or reviewing tree health.
Maybe you are bird watching. If you are in a rural zone, maybe you are a "surveyor," a "forester," or out for a camping trip. If you are on your own property, maybe you are digging up some old pipes.
Whatever your story, dress the part and be convincing.
#5. Cover Your Tracks.
This is particularly important if you are digging up an underground survival cache. Make sure that you leave the area just as you found it.
Be particularly aware of the ground level (that there is no mound or sunken dirt where you have just refilled a hole) and ground cover (branches, leaves, or grass on the site).
Be sure to erase your tracks as you approach and as you leave your survival cache site.
Be flexible and creative. Keeping these precautions in mind. Your goal is to be able to safely recover your survival cache while keeping yourself and your survival supplies safe.
Things to Consider: Urban, Suburban, Rural, and Wilderness Caching
Depending on where you live, work, and are planning on bugging out to – you will need to adapt your survival caching plan.
You may even find yourself planning a cache for each of these human environments.
As mentioned previously, flexibility and creativity are your allies when planning a survival cache.
Here are some things to keep in mind when planning your emergency survival cache for each of these population zones.
Urban Survival Caching
Placing a survival cache in an urban setting can be a challenge. This has a lot to do with the sheer number of people you will encounter in any kind of emergency situation.
It may be hard to stash a cache and even harder to recover it when SHTF.
Consider parks, bike or running trails, green corridors, and pocket gardens as potential urban caching sites.
Avoid areas with steady homeless populations, gang activity, or constant police presence.
Review your daily routines between work, home, and recreation activities. Look at the physical structures and surroundings of your routine. Are there vacant lots? Car parks? Storage Closets? Loose floorboards, ceiling panels, or bricks? Look for places that may provide a potential hiding site.
Take your time, and find the perfect spots. If you chose a less than adequate site, you may be placing your back up survival gear at risk.
When you think you have found the perfect spot, do a survey of the area for video cameras and other surveillance equipment. Study the area to understand the type of activity that takes place there during distinct periods of the day and night. This will help you determine the best time to hide your cache.
Pay attention to the place your cache is hidden. Lots get paved, buildings are torn down or remodeled, and trees are cut down. Stay up to date with development plans for each specific site.
Suburban Survival Caching
Suburban prepping can be very similar to urban prepping or it can look more like rural prepping. The suburbs, as a human environment, tend towards being very populated the closer to the city you get.
The closer to the country you travel, the suburbs look more like sprawling cul-de-sacs with ample yards and large lot sizes.
Keep in mind all the considerations for urban and rural survival caching. Take the tips that work for you and your circumstances and use them.
Rural Survival Caching
Living in a rural environment gives you a distinct advantage as a prepper. This is especially true when it comes to survival caching.
You will not have to deal with a large population of neighbors and can count on a greater sense of privacy on your personal property.
You are also most likely closer to public lands or recreational areas.
Keep in mind that lots of people are installing trail cams on large tracts of property. This can be to observe wildlife or trespassers. Be aware that these exist. Try to avoid caching on private property that is not your own or a close friend or a family member.
If caching on your own property, consider setting up a remote trail camera to keep an eye on your survival cache or caches.
You need to know if your rural road will turn into a solid line of traffic in the event of an emergency in the nearest city. Do you live on an evacuation route? If so, consider this when placing your cache along rural roads or highways.
Be aware of the wildlife in the area when placing your cache. Are there big cats around that may be in the trees? Bears? Burrowing animals like foxes or coyotes? These animals can potentially destroy a cache that is not well sealed, buried, or secured.
Pay attention to the activities of tourists in the area. Know where they are going and what they are doing. Avoid these areas for caching.
When caching on public lands, get to know the law enforcement that has jurisdiction over those areas. Pay attention to where and how they are patrolling the area. You would hate to have a mounted forest ranger ride up on you while you are digging your cache.
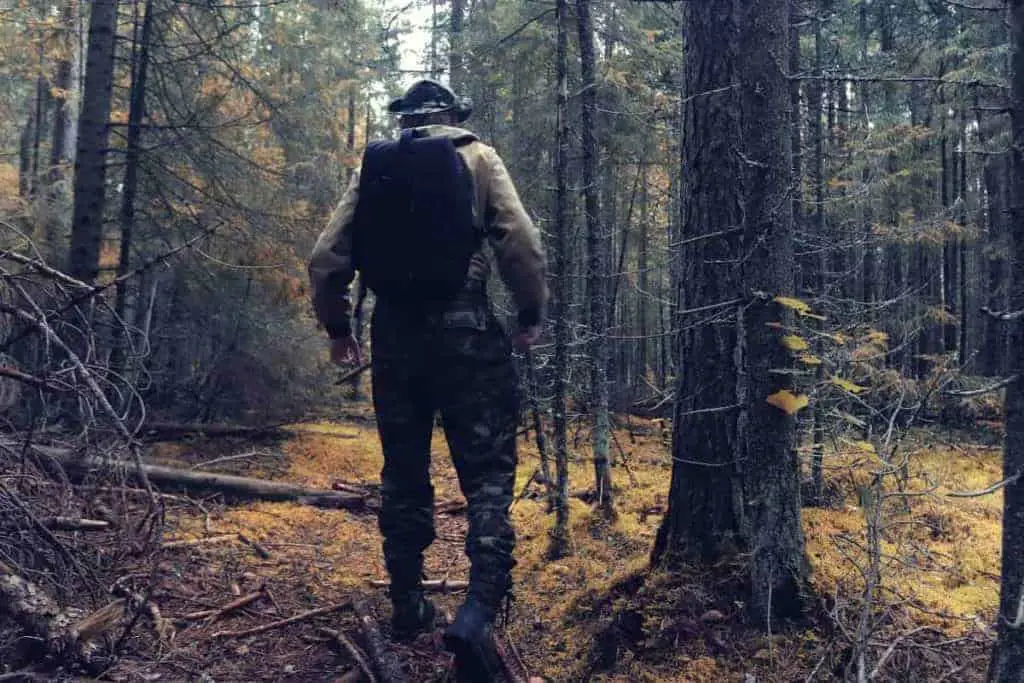
Wilderness Survival Caching
When SHTF, is your plan to hit the hills and never look back? If so, you will want to prepare your survival cache with gear and supplies that will keep you going in the wilderness.
You will also want to dedicate yourself to mastering caching for short term and long term storage of supplies.
Master the knots and ropework to master pulley systems for short term areal caches. These are most practical for storing food safely away from predators and other wildlife.
If firearms are a part of your survival strategy, consider caching large amounts of ammunition and firearm maintenance supplies.
Identify the potential territory that you will be inhabiting and place supply caches strategically over the entire geographical area.
Survival Cache Frequently Asked Questions
Should I place a survival cache in my own home?
Hiding a survival cache in your own home can be a great idea. If your home gets raided, ransacked, or robbed you will be grateful to have a back-up stash of your most essential gear in a well hidden survival cache.
It certainly makes sense to have a hidden cache that includes your preferred self-defense gear (firearms and back up ammo, knives, etc.), cash, and identity documents.
Ideal places for hiding a survival cache in your home include hidden compartments behind false walls, under floorboards, buried in a crawl space, behind loose bricks, etc.
How many survival caches should I have?
The answer to this question is as unique as each individual prepper. The idea of survival caches is to spread out your gear and have backups of your most essential survival tools.
Some preppers will create various survival caches with the exact same contents and spread them out across a variety of locations.
It's ok to be redundant. In fact, you should be redundant.
If you do not include a survival knife, for example, in every cache, wouldn’t it be a huge failure to find yourself in a survival situation where you can only access a cache that doesn’t have one?
Other preppers will have different caches that have distinct contents. They may have a firearms/ammo cache, a clothing and shelter cache, and maybe a medicine supplies cache, just to name a few.
There are different kinds of survival caches that serve different purposes. Plan as many caches as you feel you will need. As your survival plans evolve over time, you may find that you need to add more survival caches to your inventory.
I personally recommend a minimum of three survival caches. A home cache (if you are robbed or raided but still have access to your structure), a cache between your work and your home, and another between your home and your bug out location.
Obviously, if your bug out location or your workplace is particularly far away from your home, you may want to organize multiple caches as refueling/restocking points along the way.
Sit down and analyze your situation and possible scenarios that could potentially happen. You have to know what kind of emergency you are planning to answer the question of how many survival caches you will need.
Can I buy a premade survival cache?
There are a lot of great options for survival cache containers that come in all shapes and sizes.
There are even more options for survival gear and multitools that come as themed kits (think fishing gear or lock picking kits). As a consumer, however, you should be wary of prepackaged survival caches that are ready to bury.
You should take the time and make the investment in gear and supplies specific to your circumstances.
Survival Cache Conclusions
This wraps up our comprehensive guide on how to build a survival cache.
Hopefully you now have a better understanding of what to take into consideration when finding a cache spot, what gear to include in your survival cache and how to retrieve it safely and stealthily.
It's up to you now to study your surroundings and find the best spot to store your custom cache.
A flare gun is a pistol-like device that fires flares for signaling or illumination in emergencies. This article will help you decide what the “right” flare gun is for preppers!
Urban, suburban, rural, and wilderness preppers should all study and master survival foraging. This basic foraging guide will get you thinking about finding survival foods in the wild.
No stone will be left unturned as we explore everything preppers need to know about smoke grenades. What are the best to buy and should you keep them in your Bug Out Bag?